The following guide demonstrates how to create a Embarcadero Rad Studio 10.3 Rio project and add WebKitX control in a Form.
The procedure is similar for Borland Delphi 5, Borland Delphi 7 and Embarcadero RAD Studio Architect XE5.
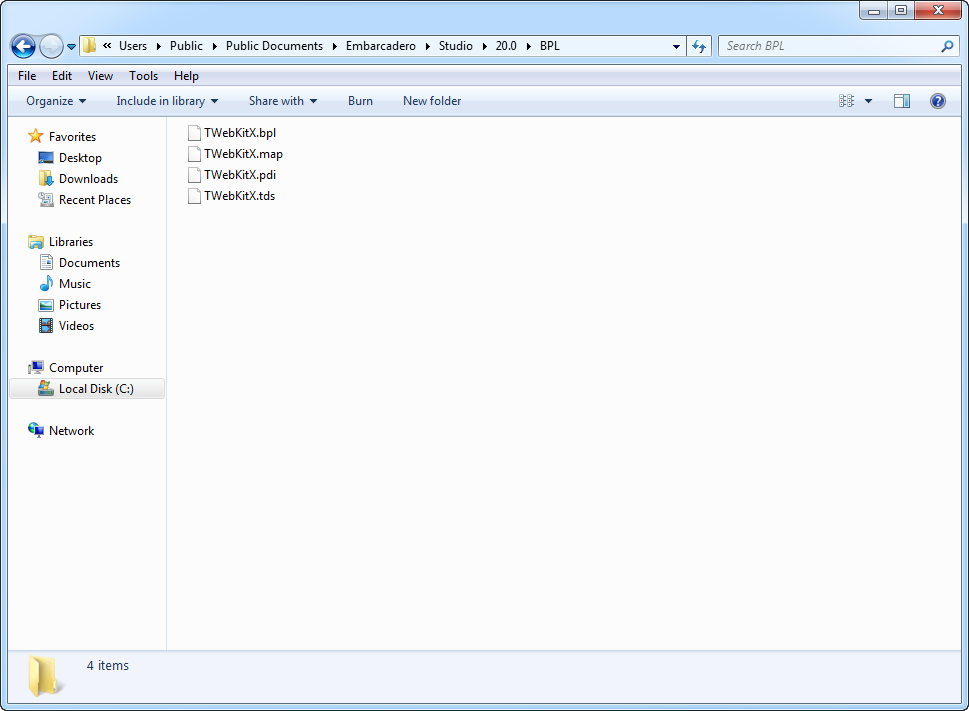
Delete existing WebKitX BPL from public folder:
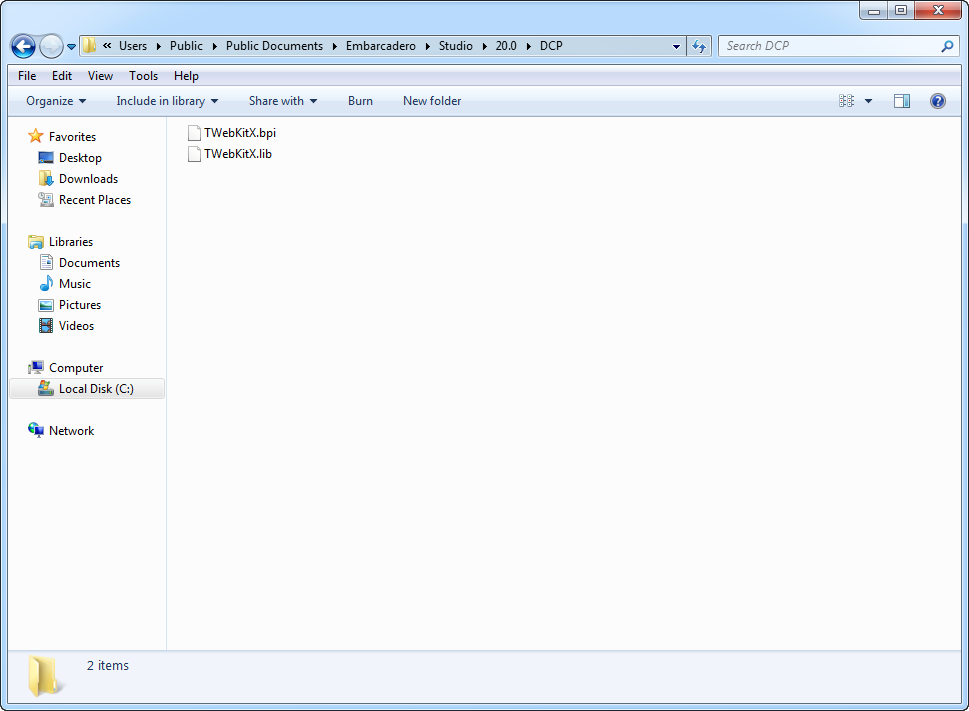
Delete existing WebKitX DCP from public folder:
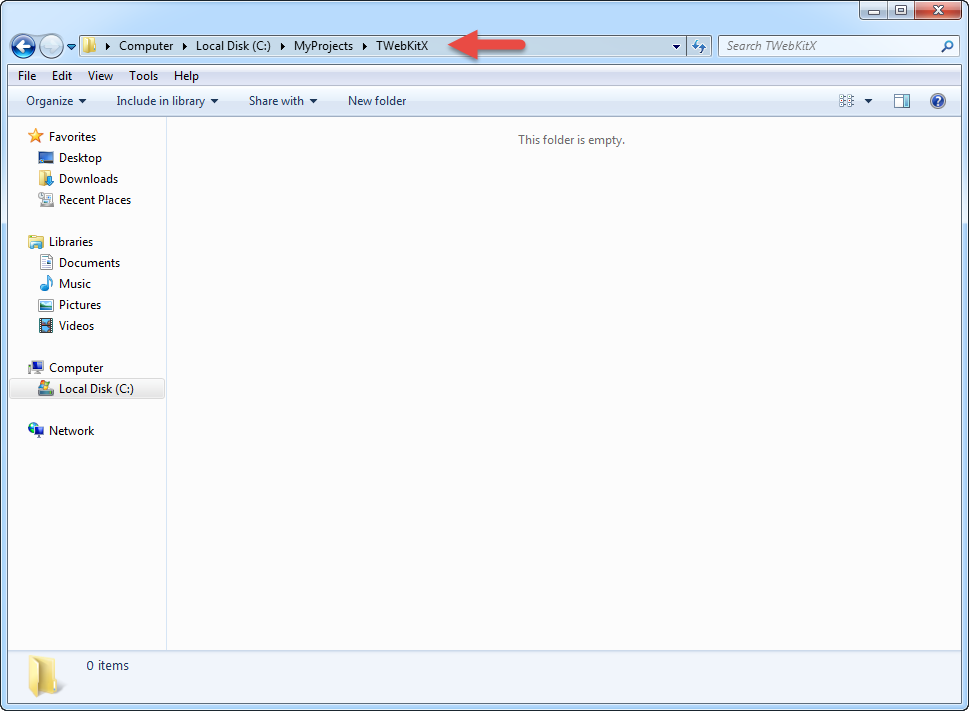
To start, you need to define a Working Folder for WebKitX component import and test projects. Please create a parent folder such as C:\MyProjects and inside it create a TWebKitX and a Test1 sub folders.
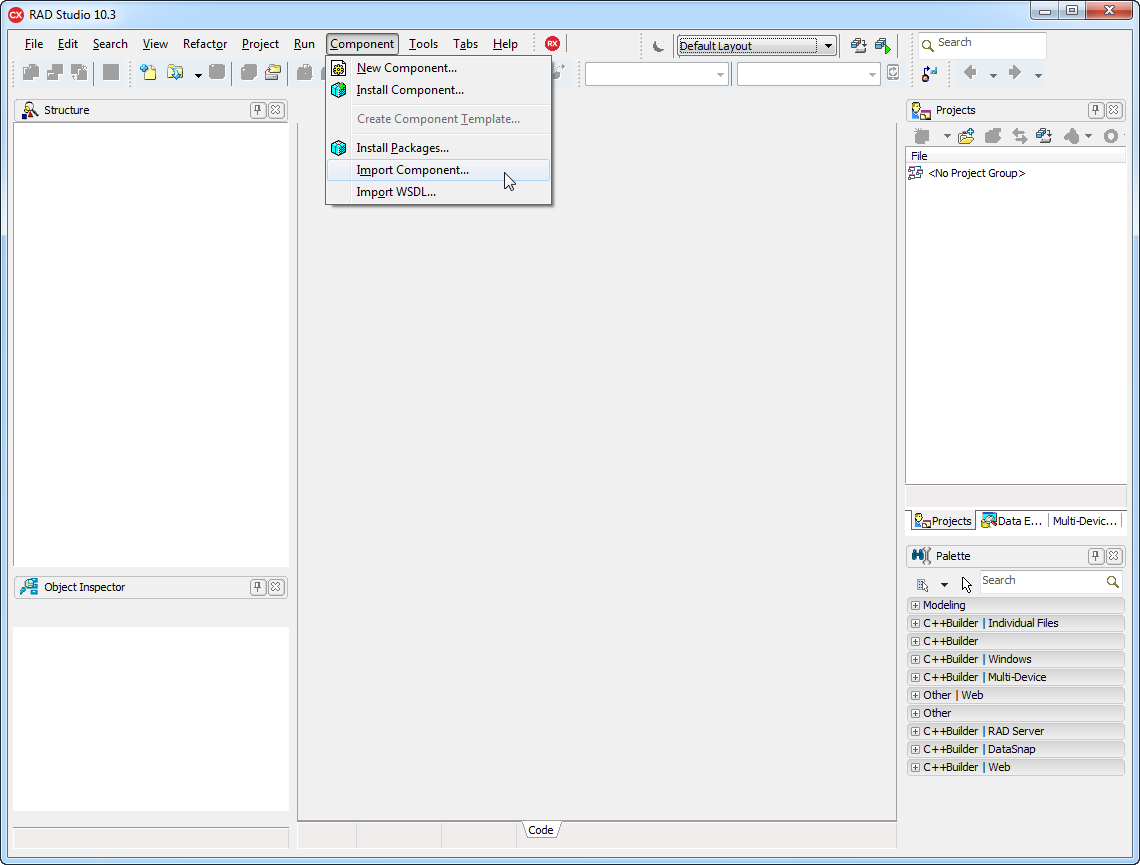
Start your IDE and go straight to Component and click on Import Component ...
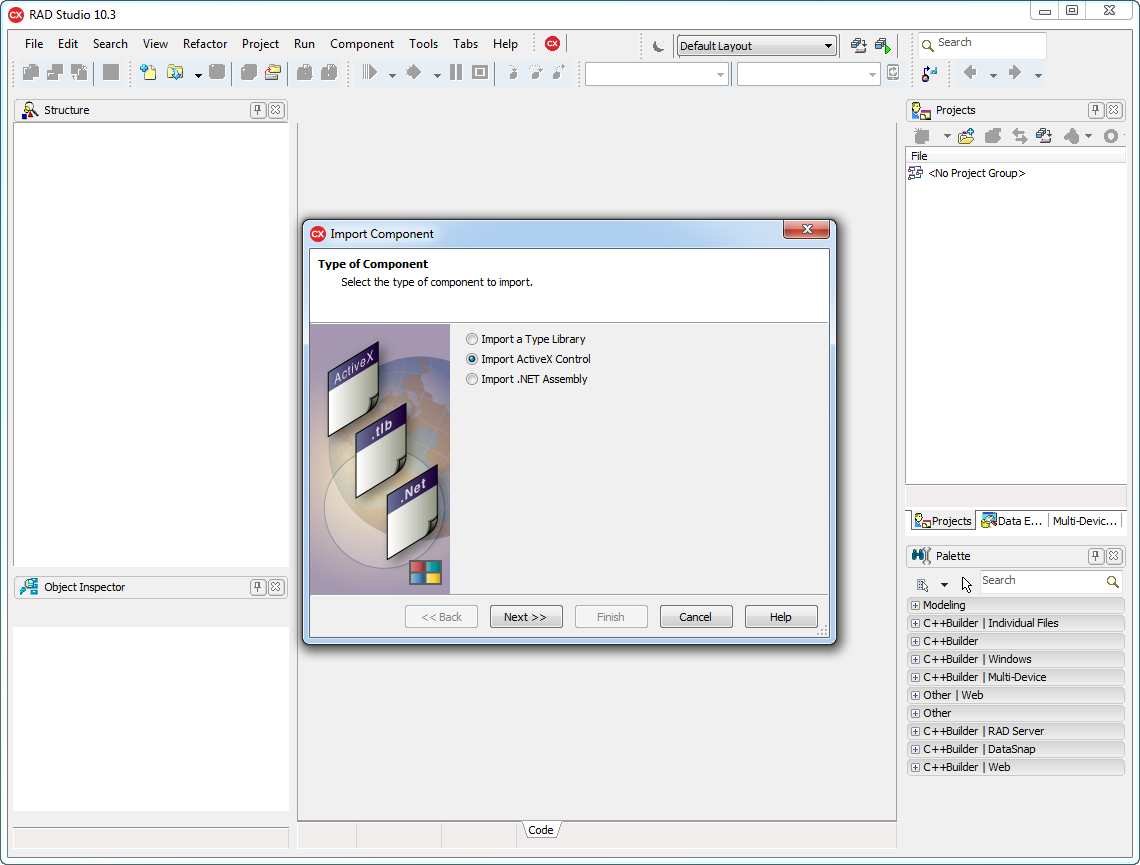
Select Import Active Control and click Next.
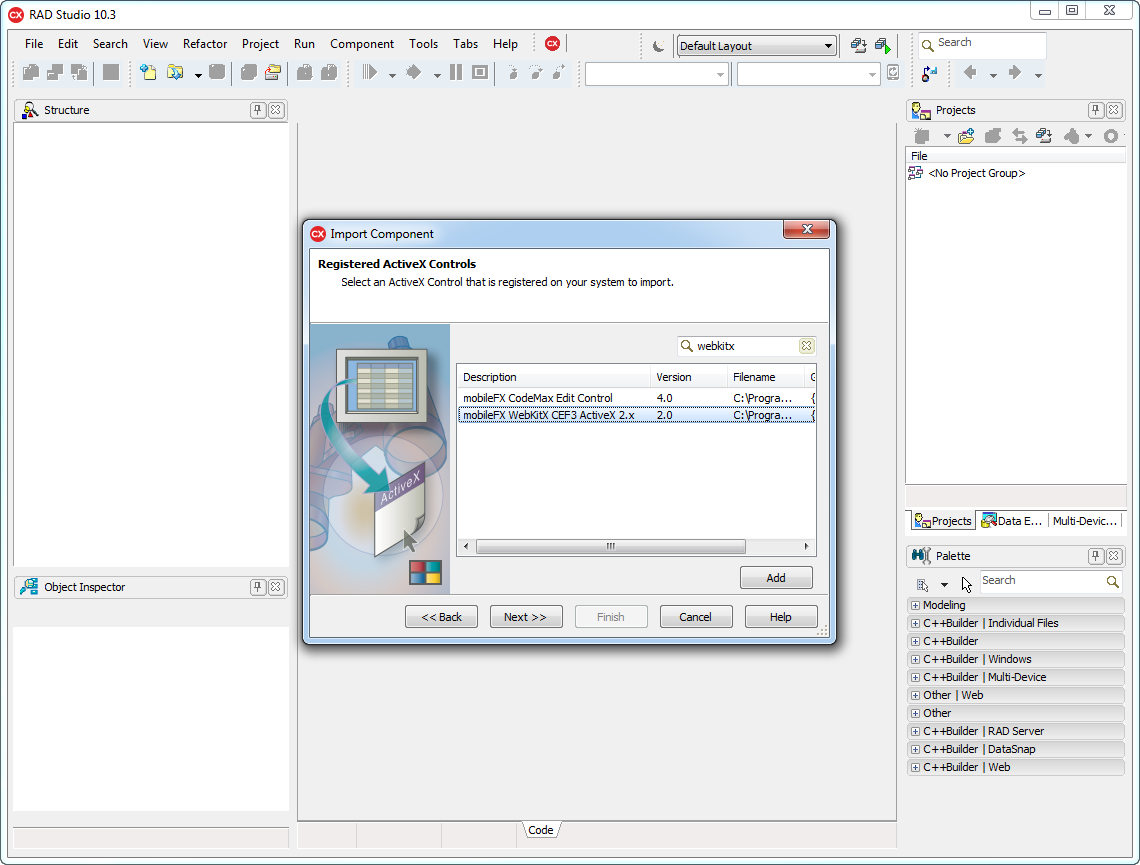
Type webkit in search box to filter out components and select mobileFX WebKitX ActiveX component. Click Next.
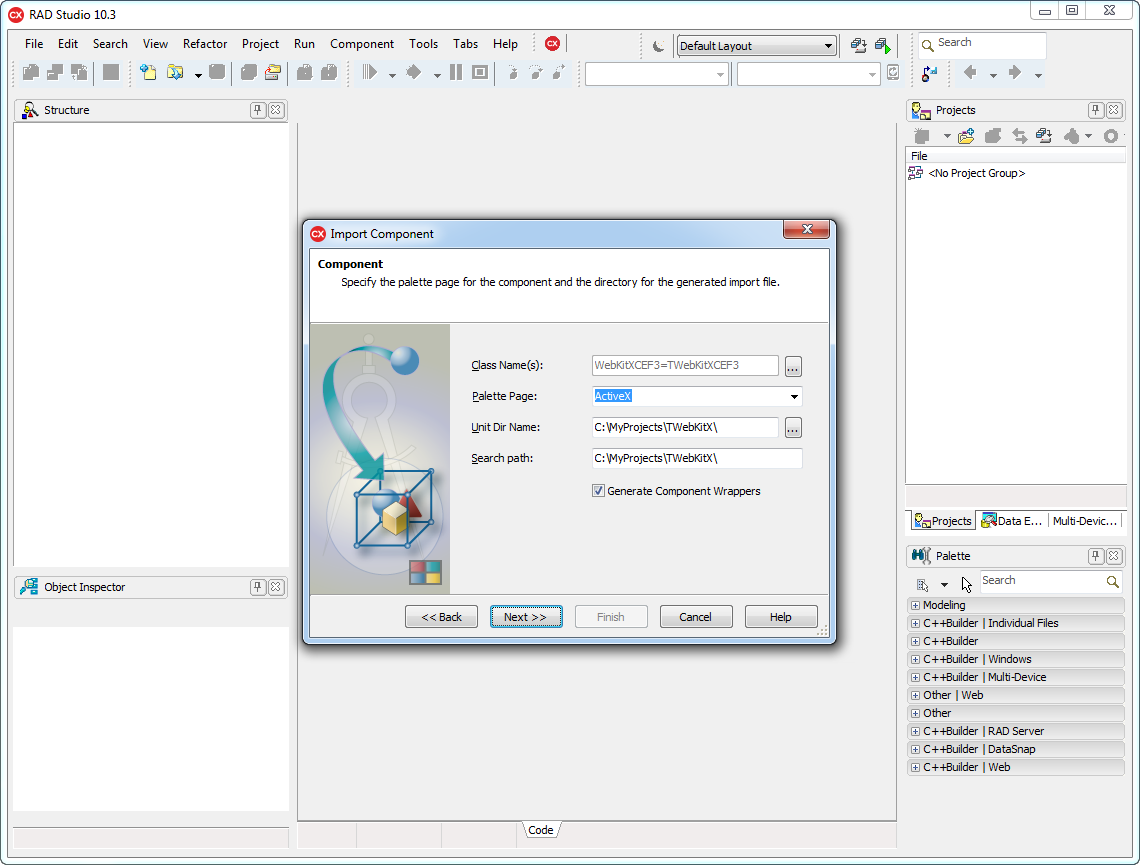
Set Palette Page to ActiveX, Unit Dir Name to C:\MyProjects\TWebKitX\ and Search Path to same value. Make sure Generate Component Wrappers is checked. Click Next.
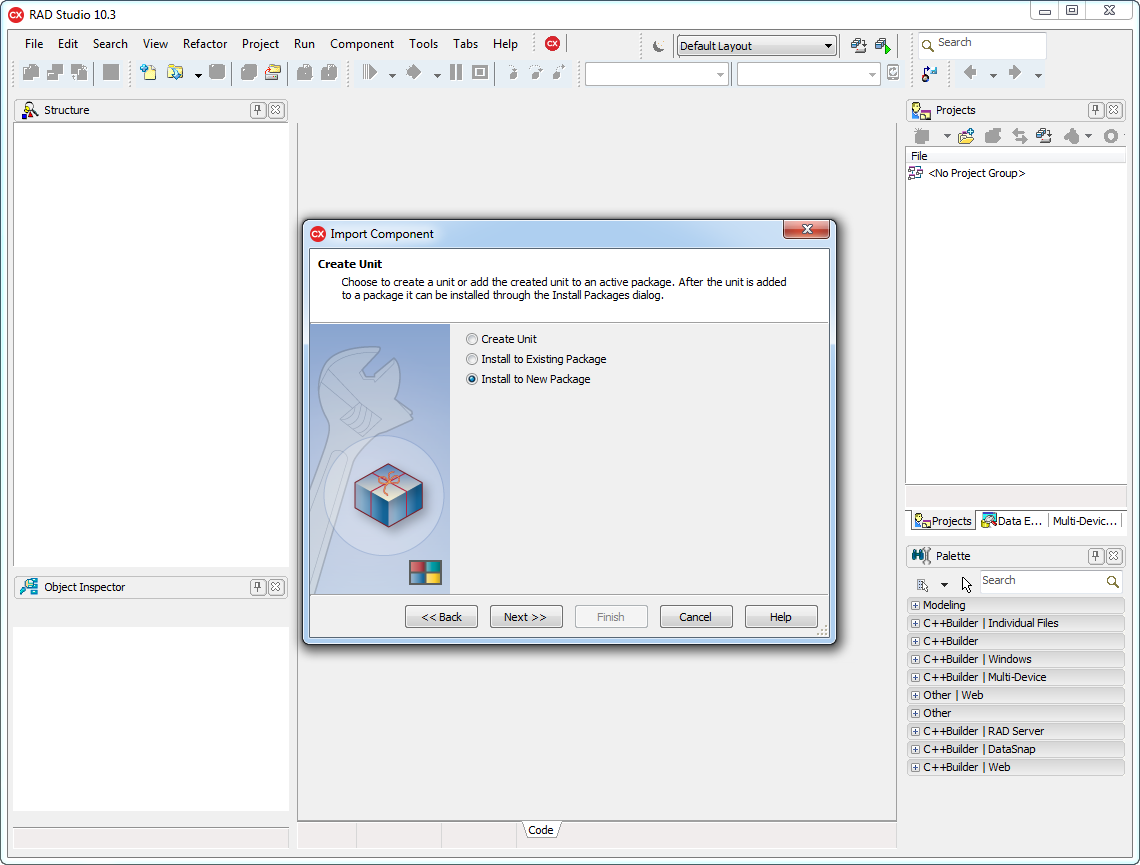
Select Install to New Package and click Next.
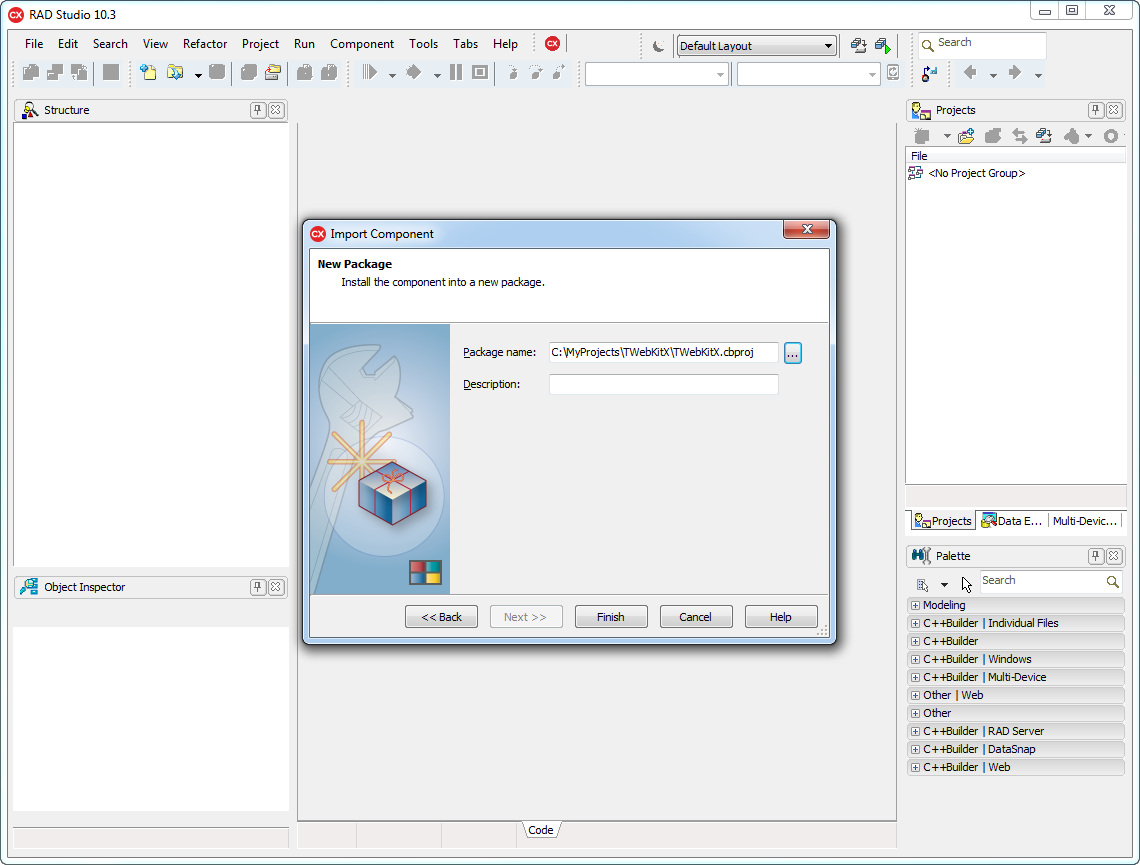
Set Package Name to C:\MyProjects\TWebKitX\TWebKitX.cbproj and click Finish. It is important to save in the TWebKitX subfolder.
Most likely you will see a message like this one; click Yes.

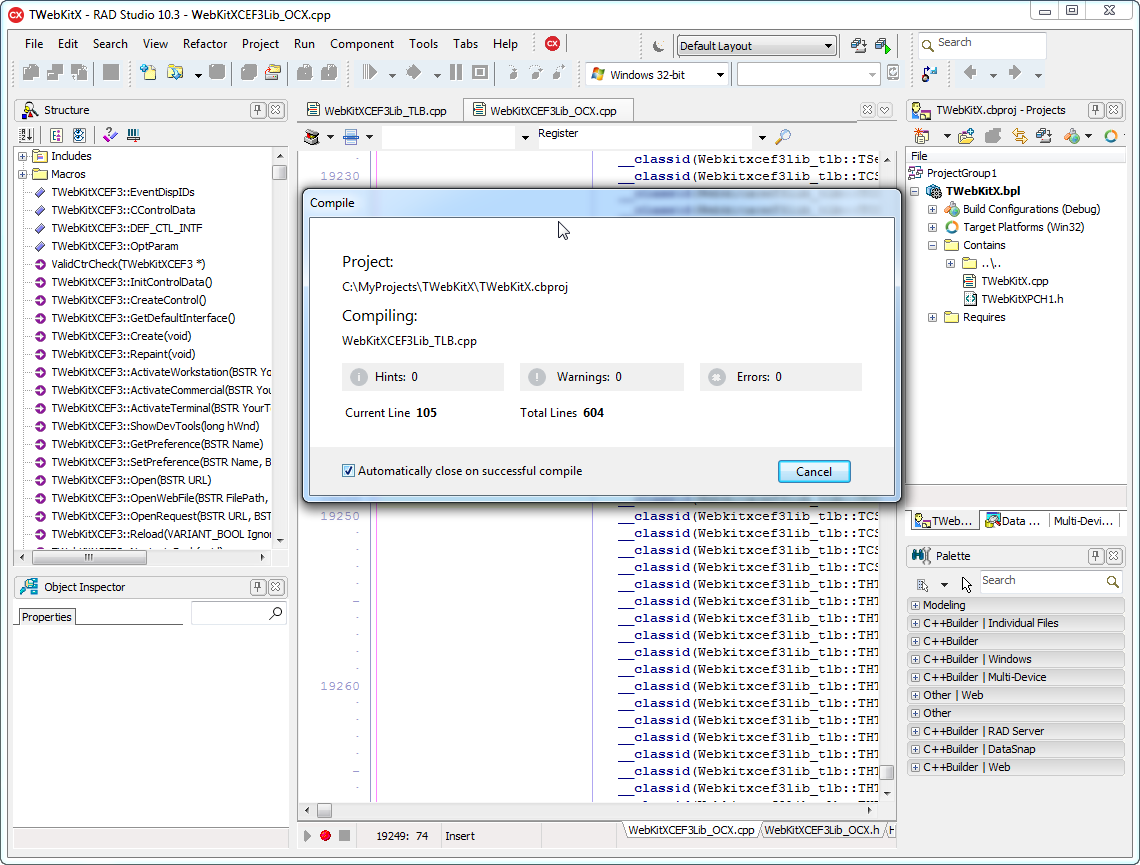
Import of the component will begin by compiling the VCL wrapper of WebKitX. Please note that WebKitX implements over 100 CoClasses, so it might take a while. Do not interrupt this step.
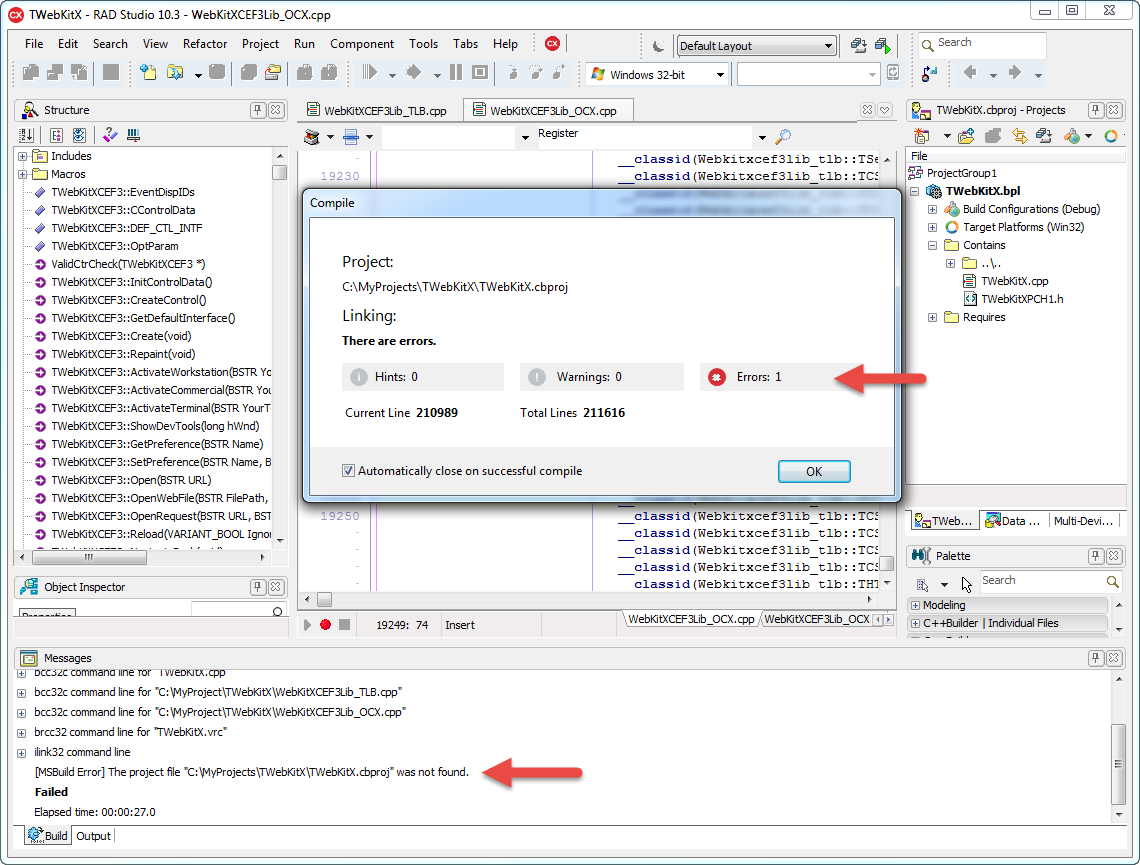
However, when the job finishes in some Embarcadero IDEs you will get an Error, while in most Borland IDEs it seems to work straight. Do not worry about the error, it relates to saving the project but because of the error the component will not install in the Palette; we will either have to install it manually, or save the project and repeat the process. Keep reading!
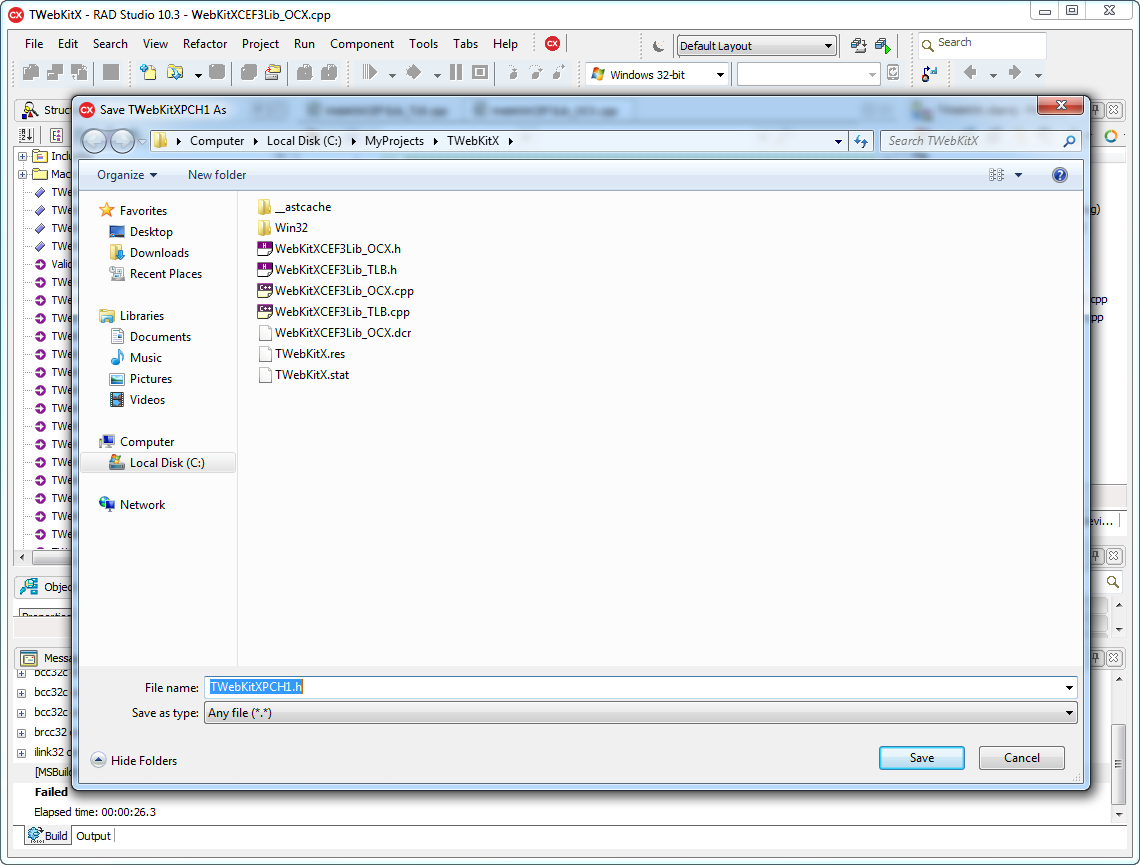
Click on File > Save All and make sure you save all files in TWebKitX subfolder.
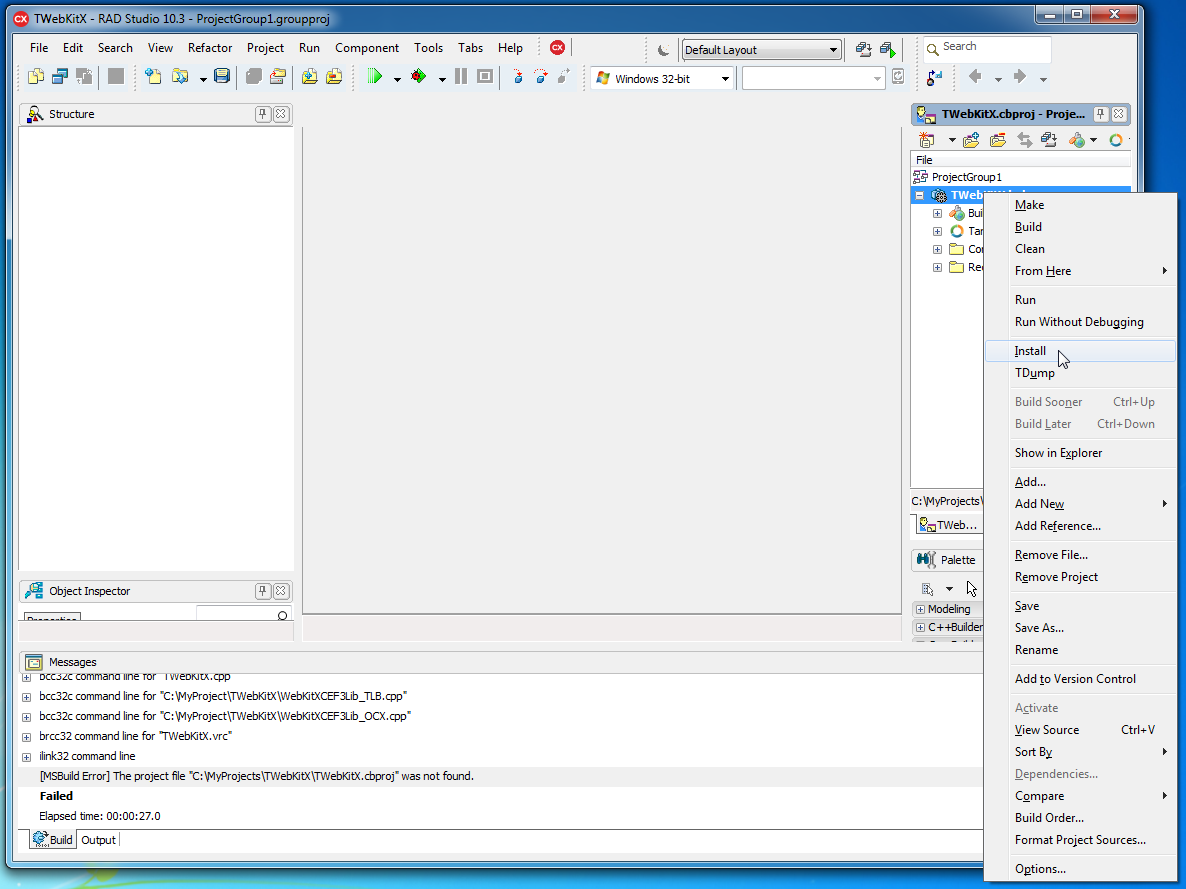
Once you save all files, right-click on TWebKitX and select Install.
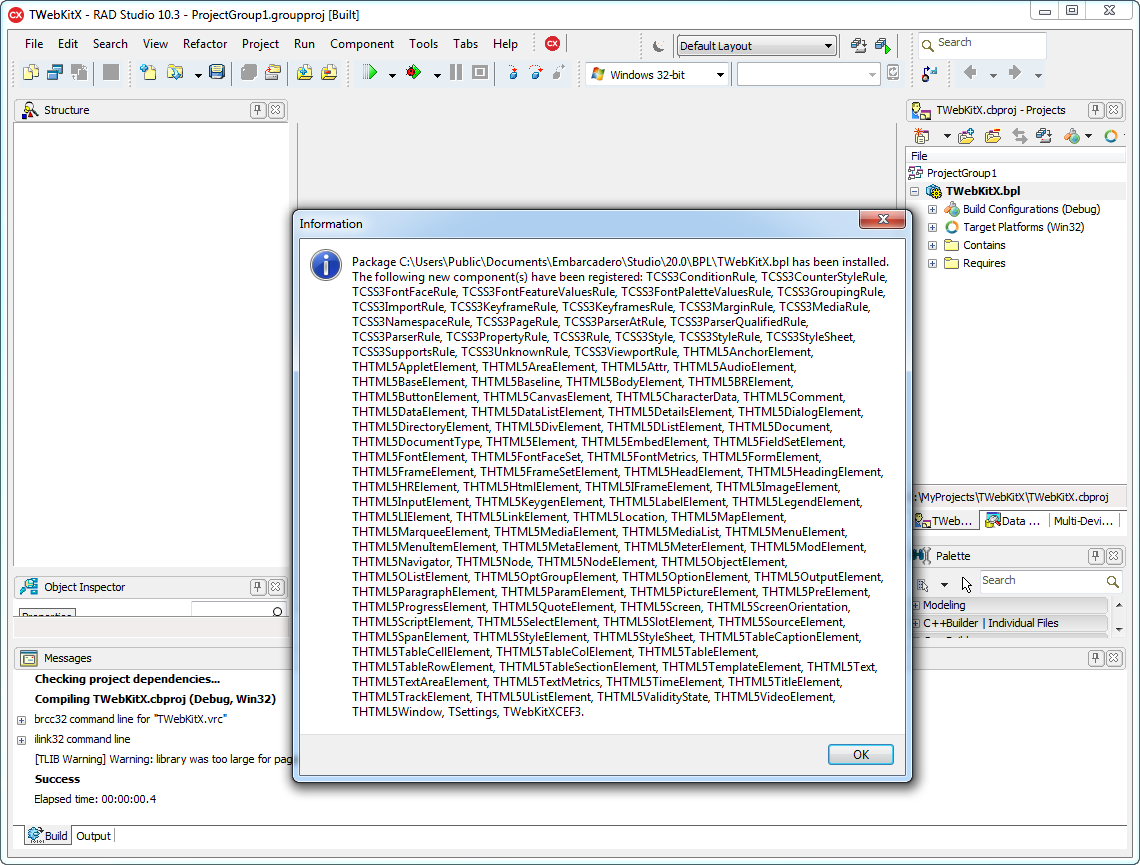
The component will be installed and a list of all CoClasses will be displayed. Note that TSettings and TWebKitXCEF3 are the last ones. Those are the important ones; all the others are HTML5 Element Wrappers.
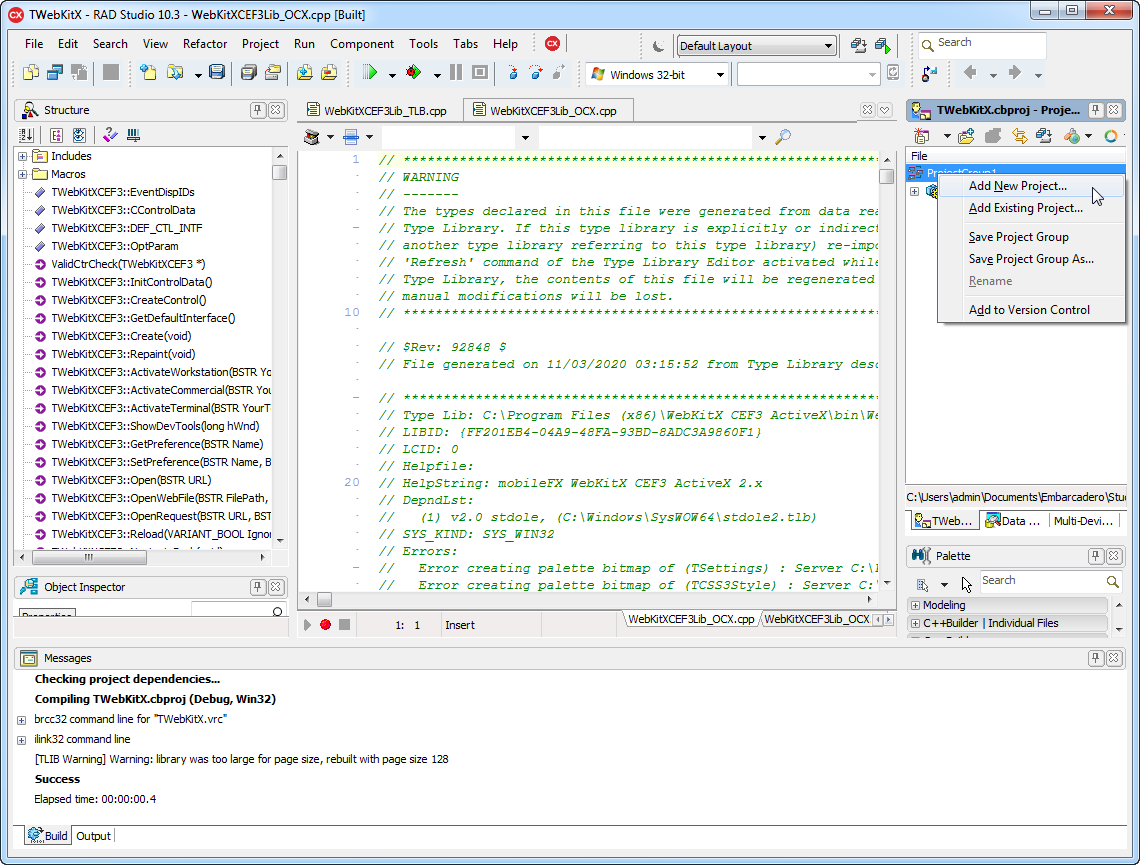
Right-click in ProjectGroup1 and select Add New Project...
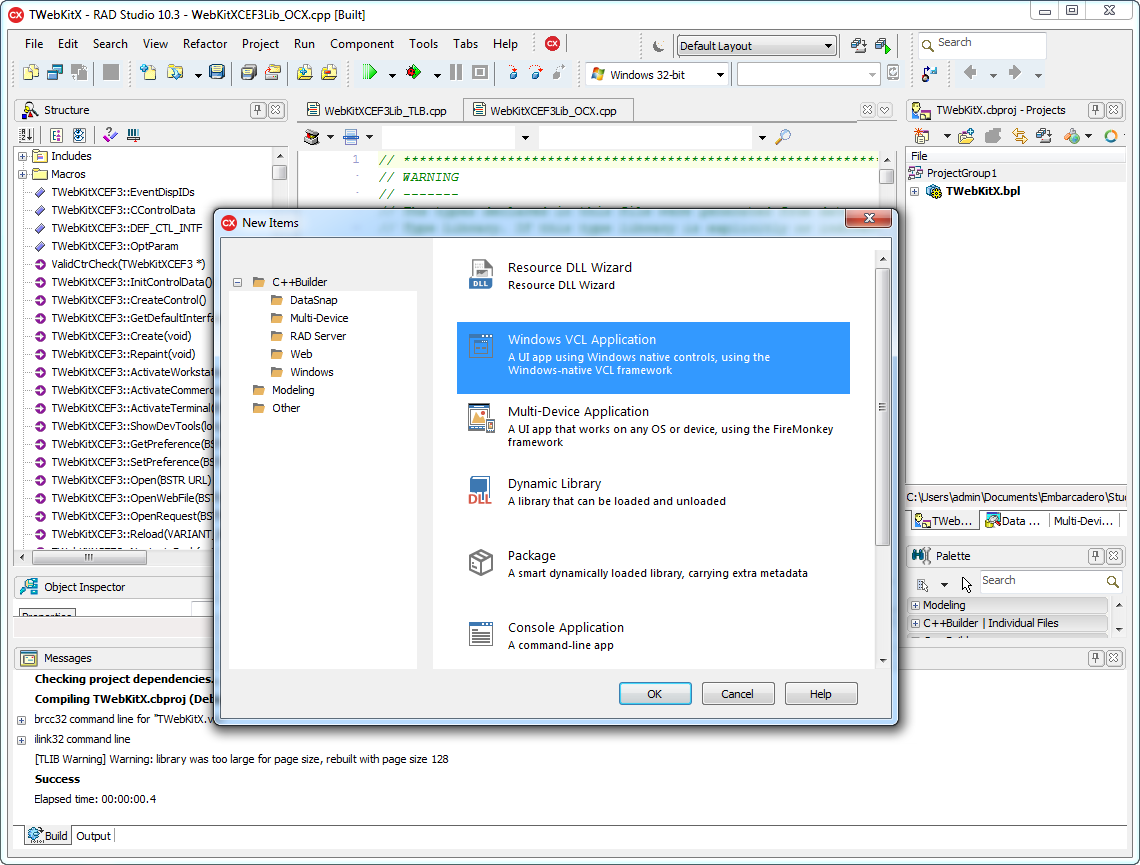
Select Windows VCL Application and click OK.
Double-click on Project1.exe to make it active project.
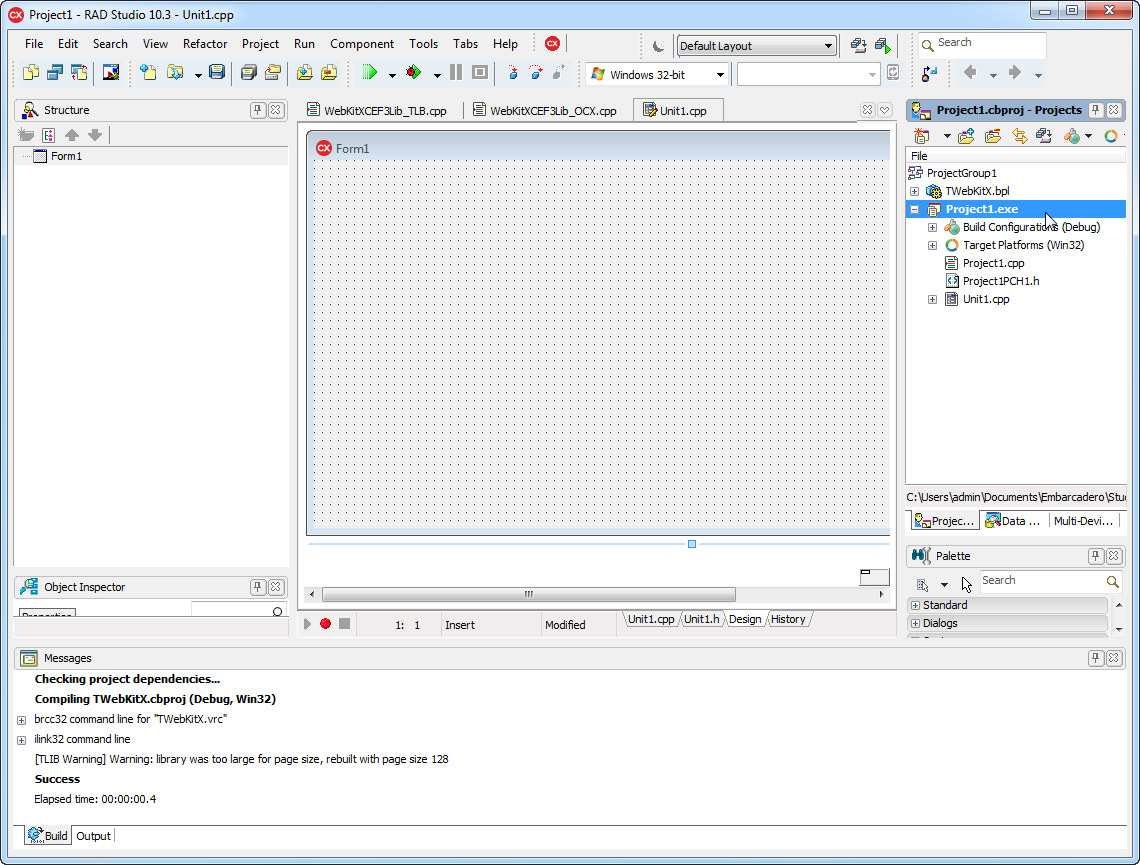
Make sure you Save All.
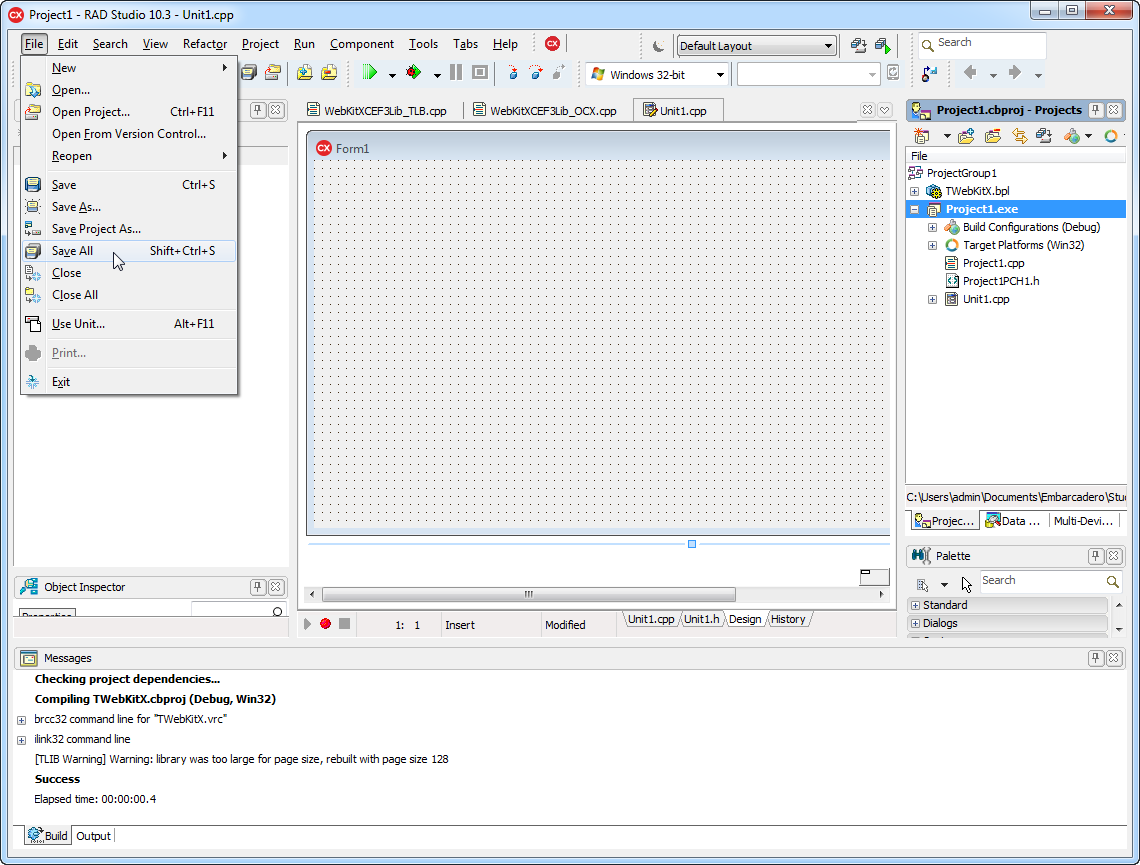
Make sure you save in Test1 subfolder this time, all files except the project group file.
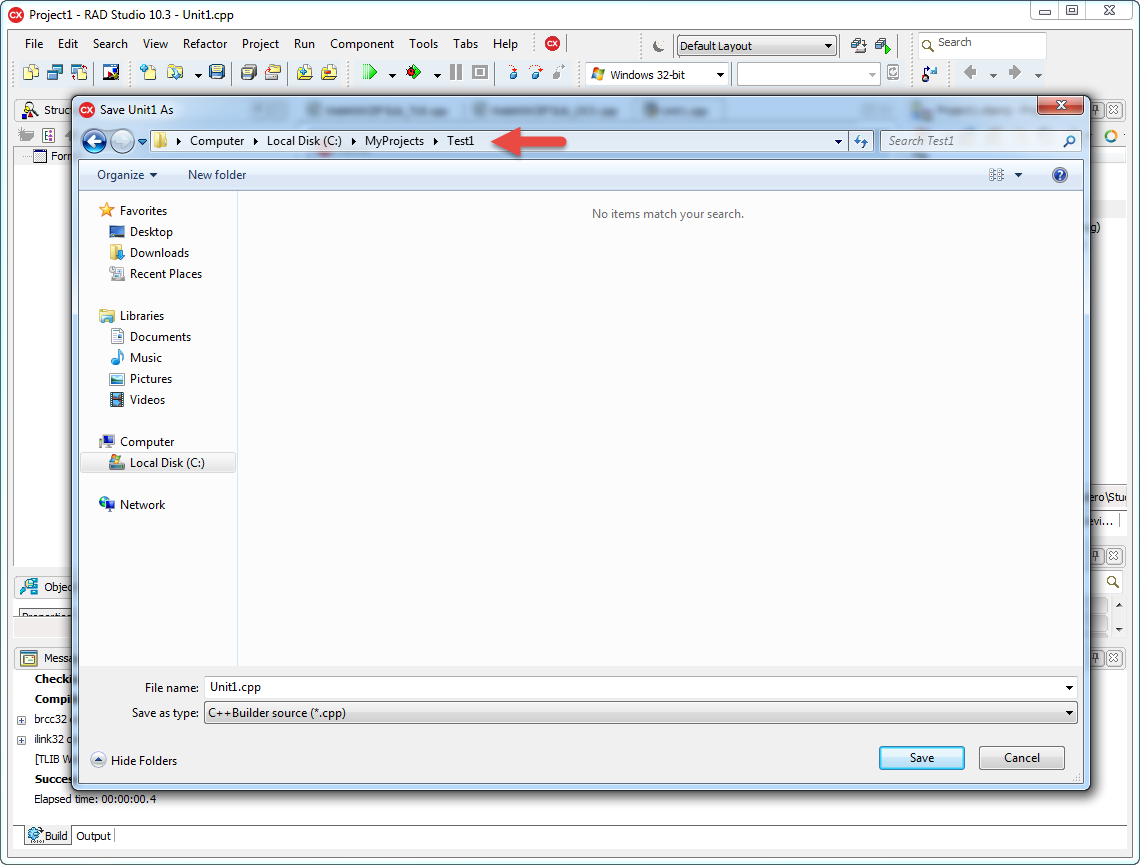
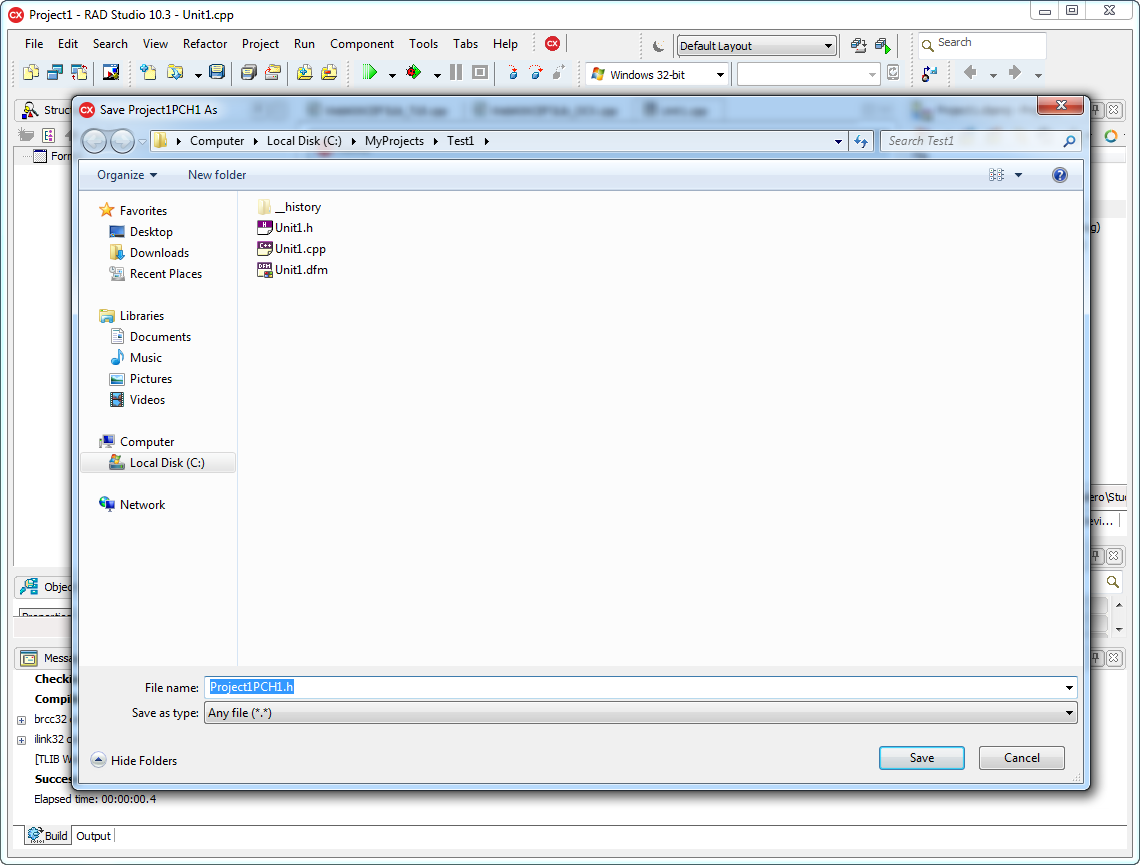
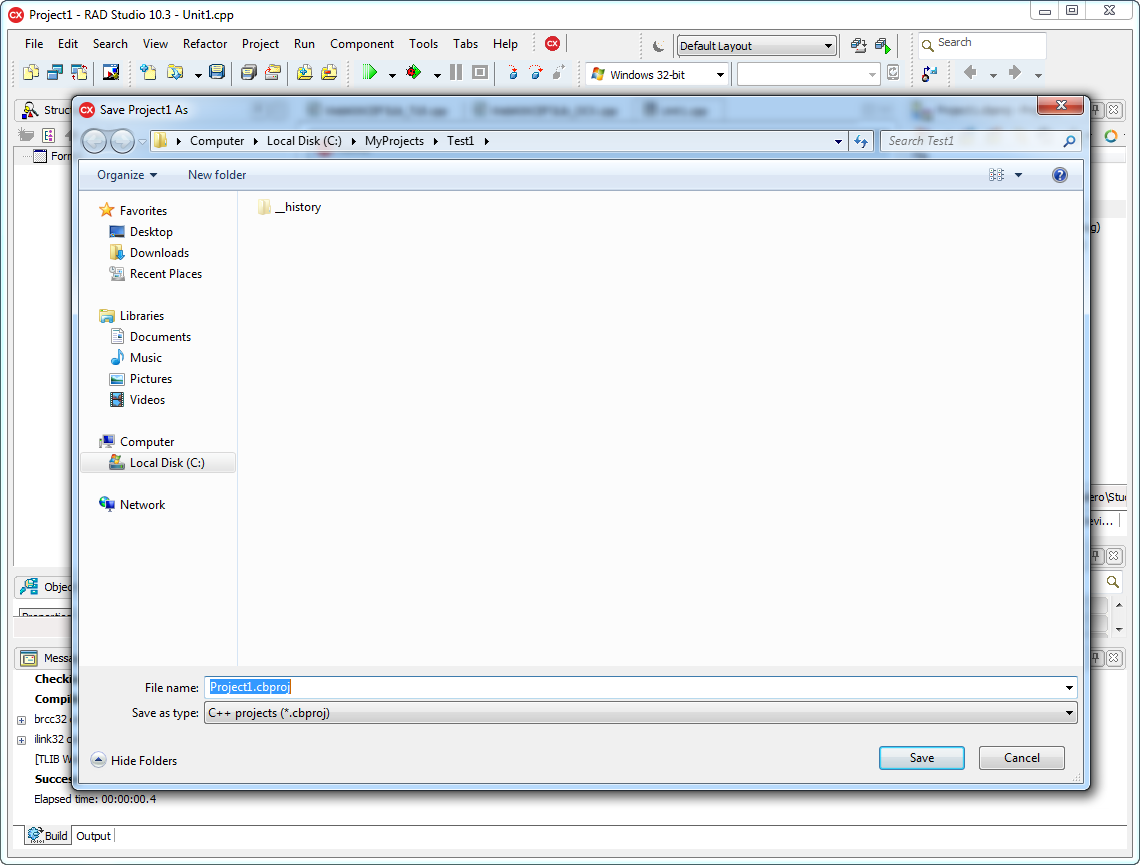
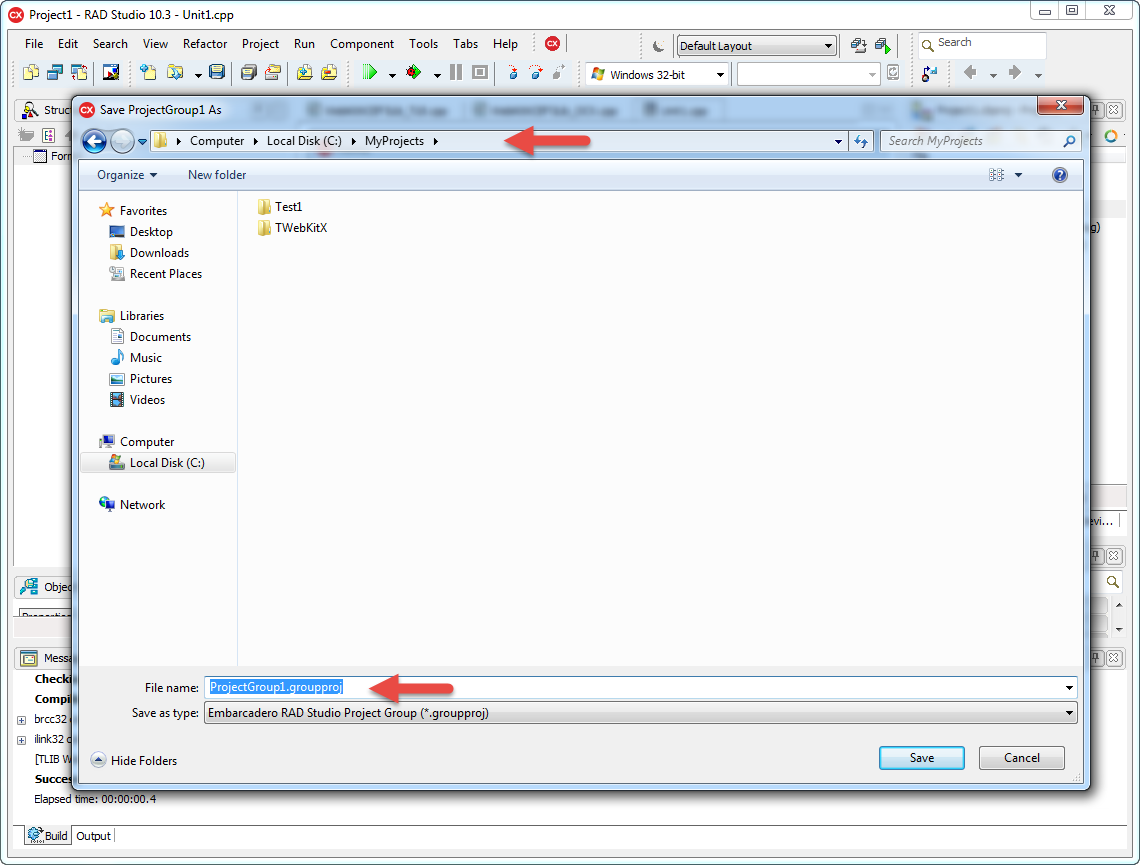
Make sure you save the project group file in MyProjects root.
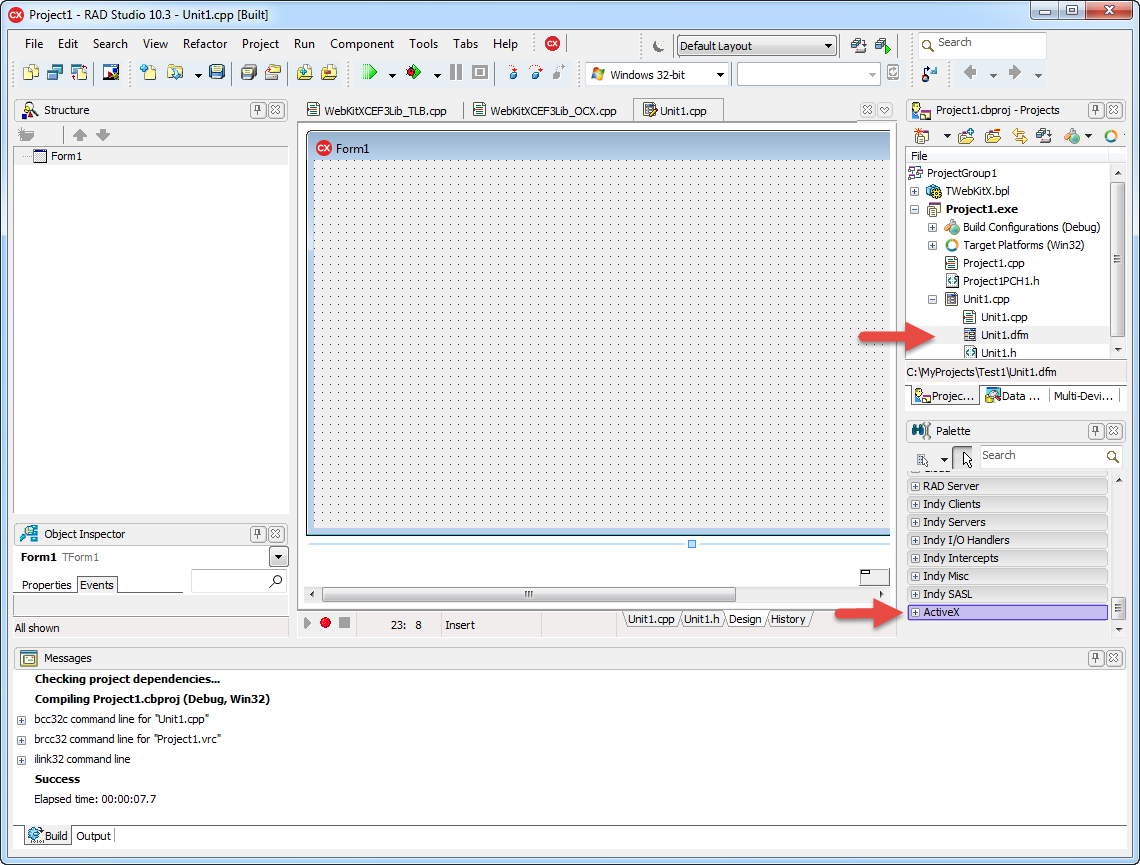
Open Unit1.dfm and then in Palette locate the ActiveX group.
Expand the ActiveX group and drag-and-drop TWebKitXCEF3 on Form1.
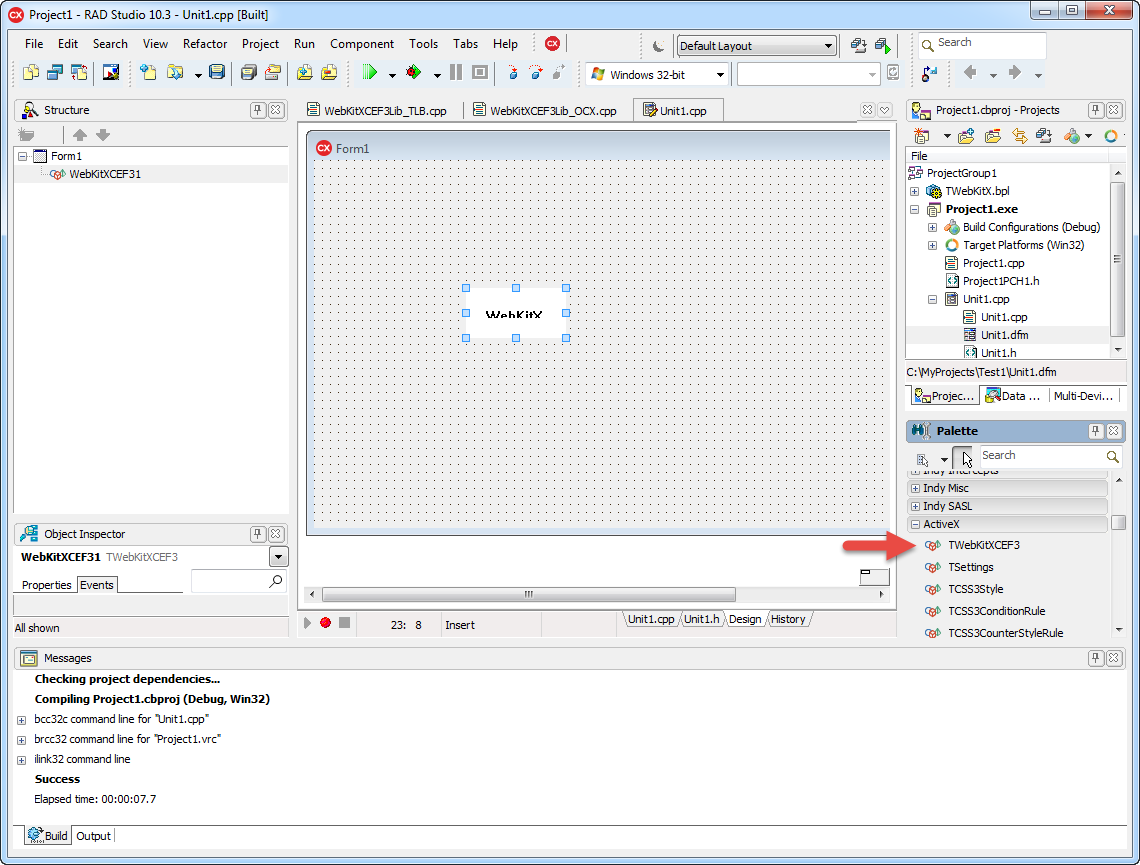
Adjust control's size and double click on OnCreate event to create an event handler.
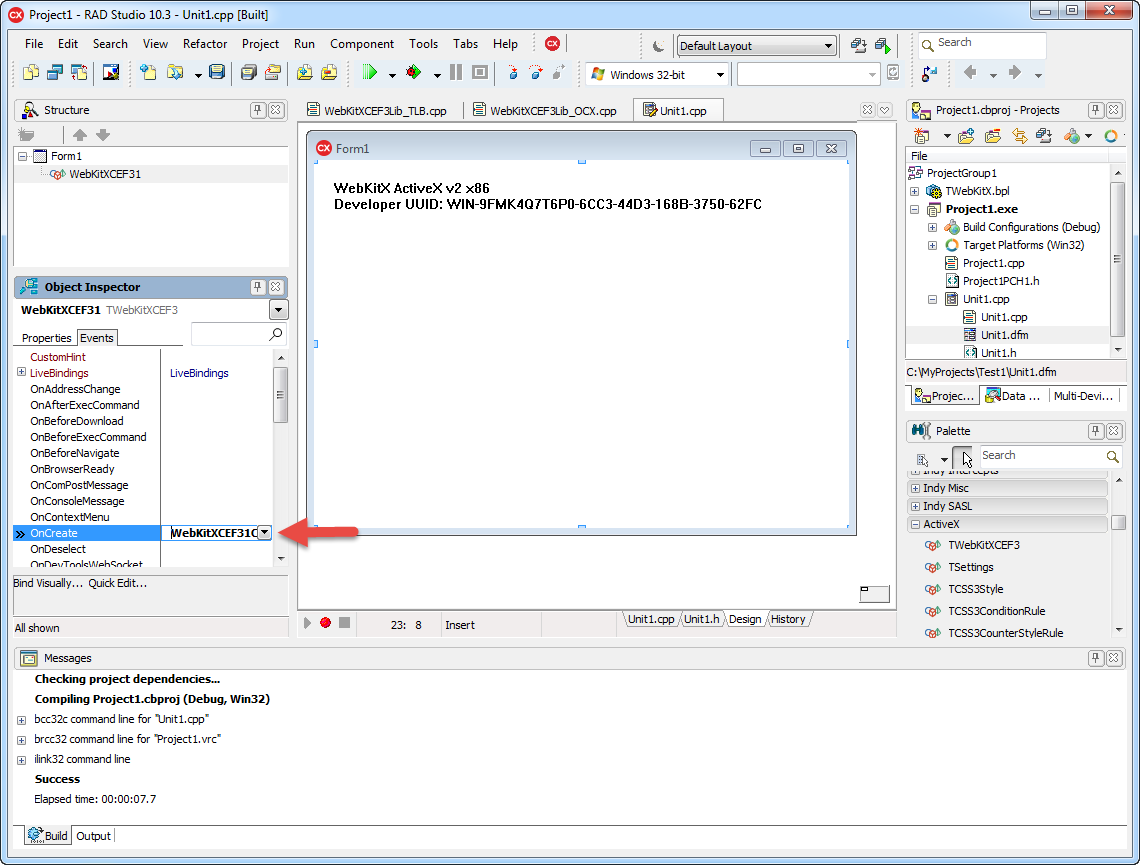
Do the same for OnBrowserReady event. In OnCreate event handler you can define the web cache path. In OnBrowserReady you can open your first URL.
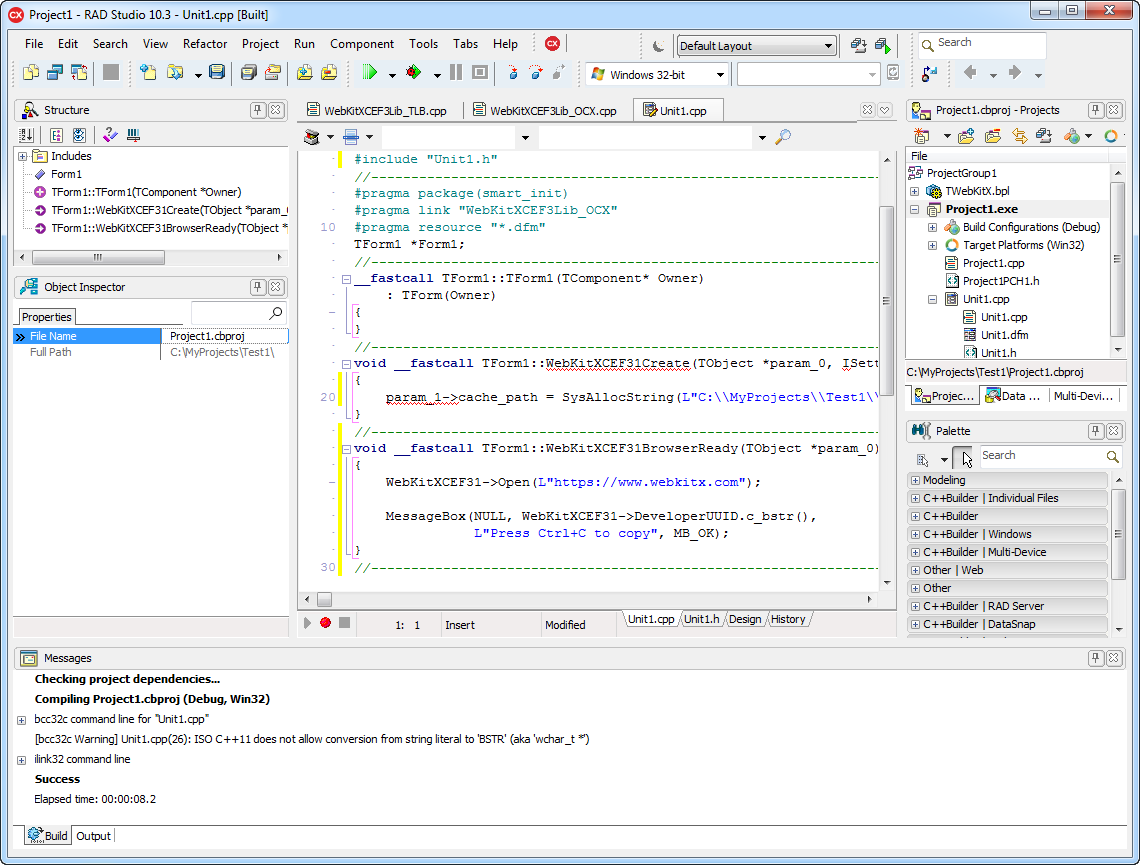
Build and Run! 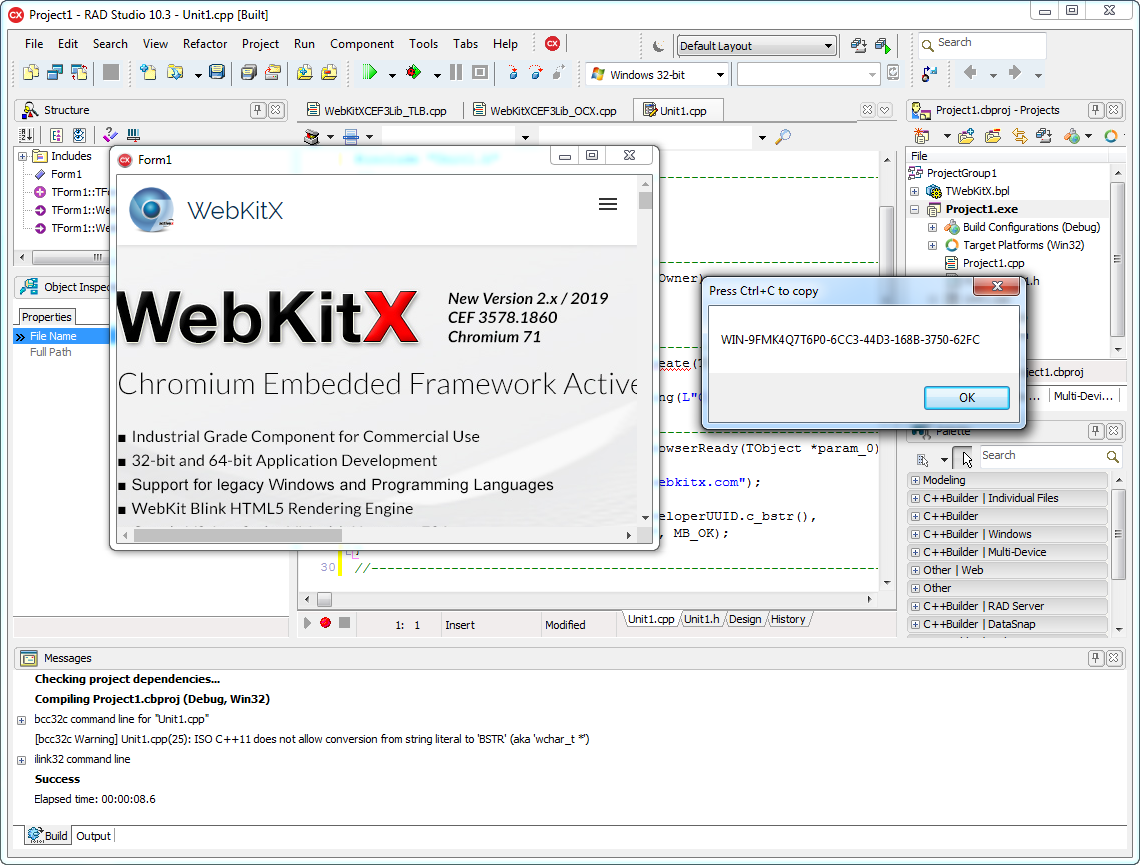
The example also demonstrates how to obtain your Developer UUID.