The following guide demonstrates how to use 64-bit version of WebKitX with Microsoft Office Excel 2016 or later and Visual Basic for Applications (VBA) and assumes you have edited VBA Security settings to allow ActiveX.
mobileFX WebKitX ActiveX is shipped both as digitally signed and unsigned binaries. If you wish to use the signed version (recommended for Office applications) please use regsvr32.exe to register the signed version of the control. WebKitX installer by default registers the unsigned version of the control.
Start Excel and click on Blank workbook.
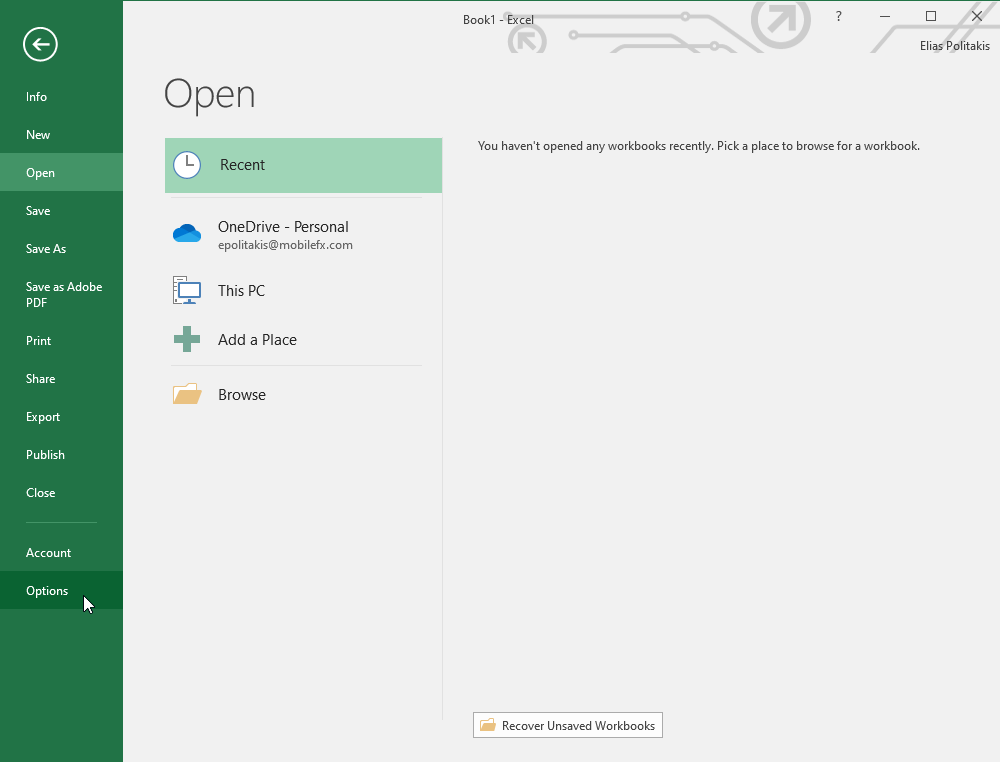
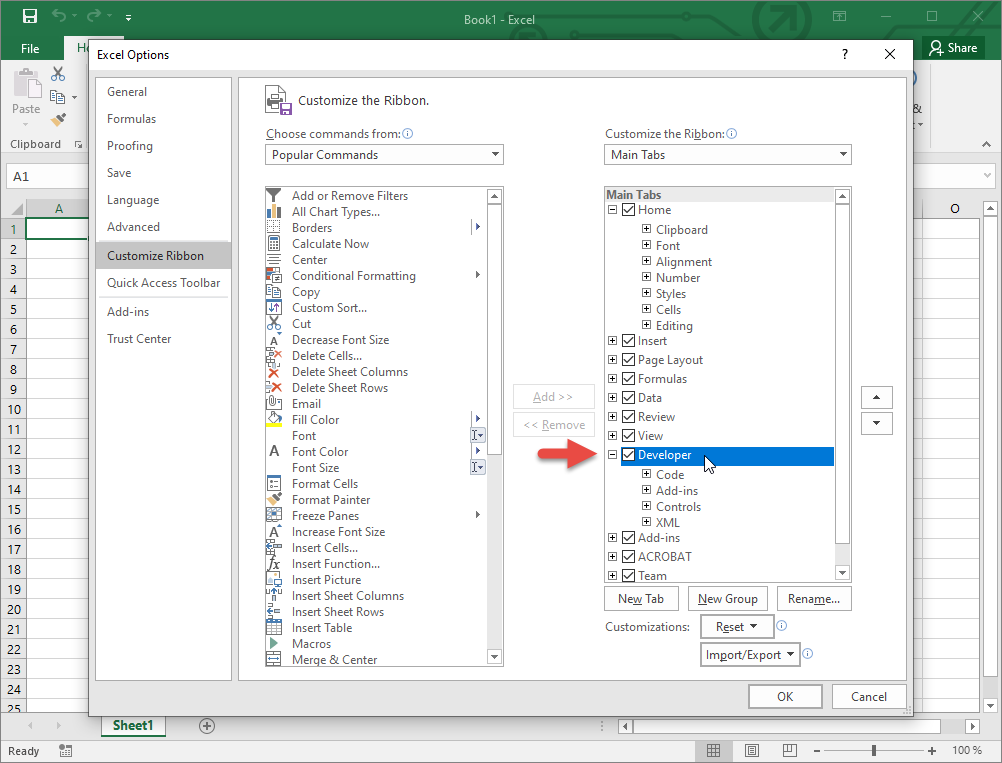
You need to enable Developer Tools, click on File.
Click on Options.
Click on Customize Ribbon and check Developer.
Now the Developer tab appears on ribbon. Click on it.
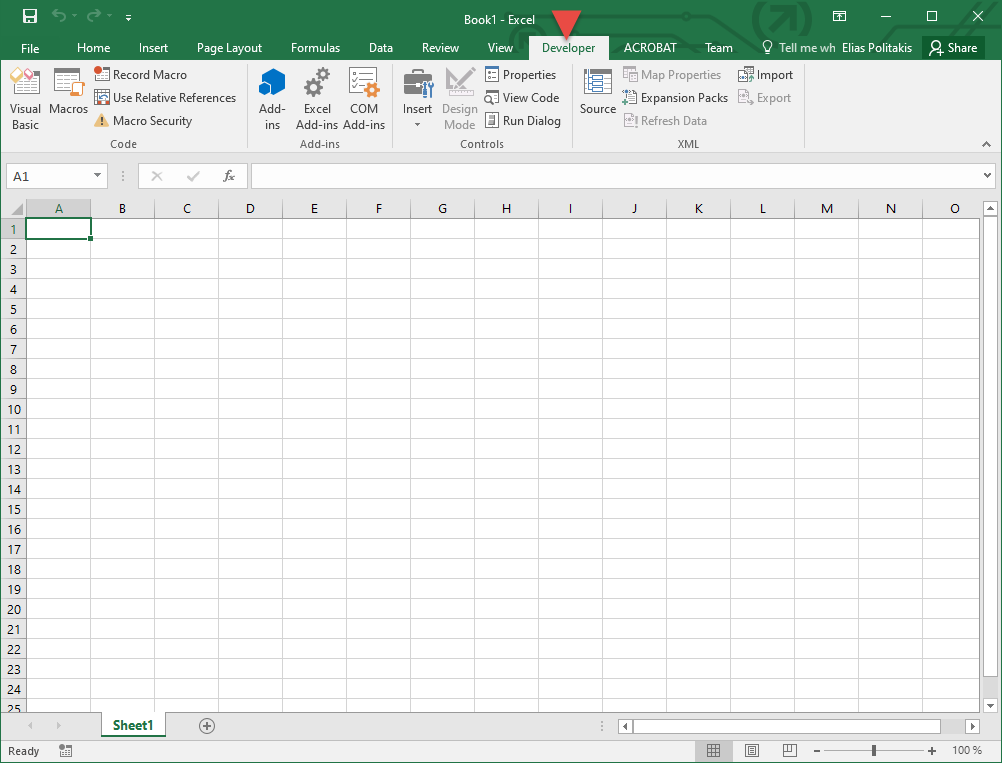
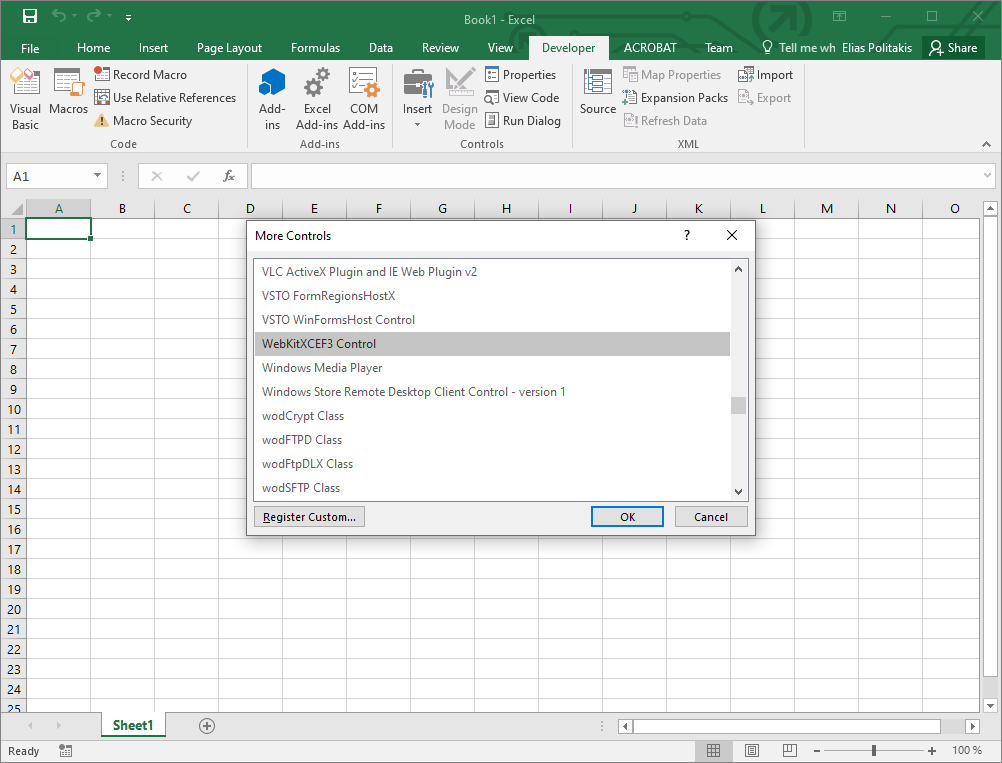
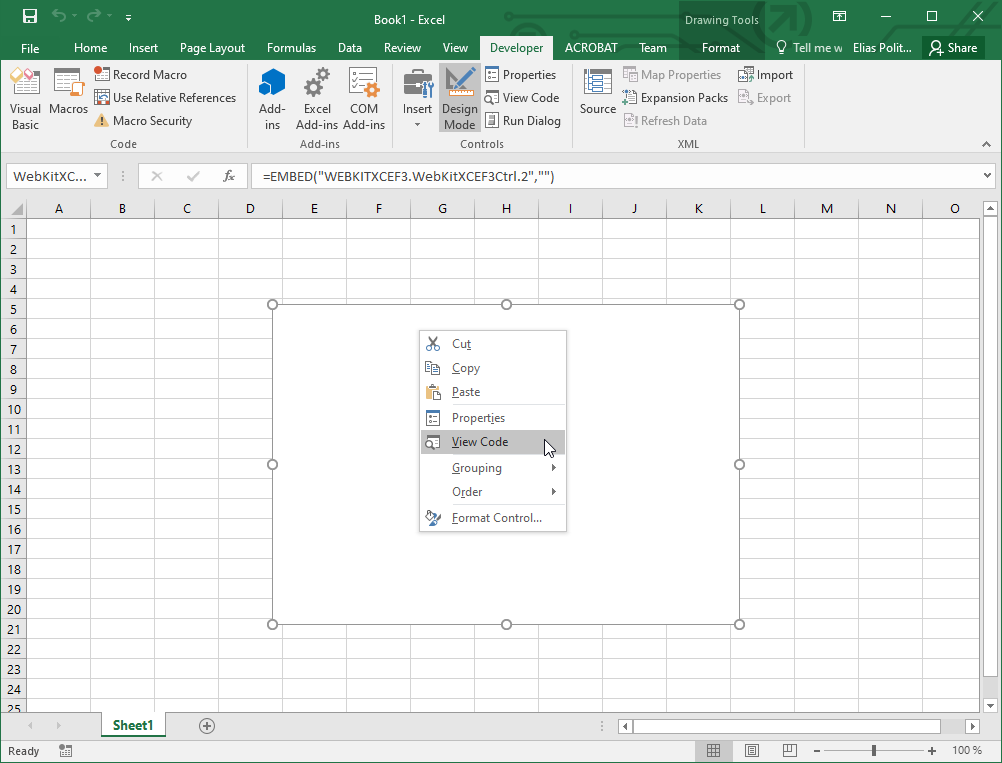
In Developer tab click Insert and select More Controls.

From the list, select WebKitXCEF3 Control and click OK.
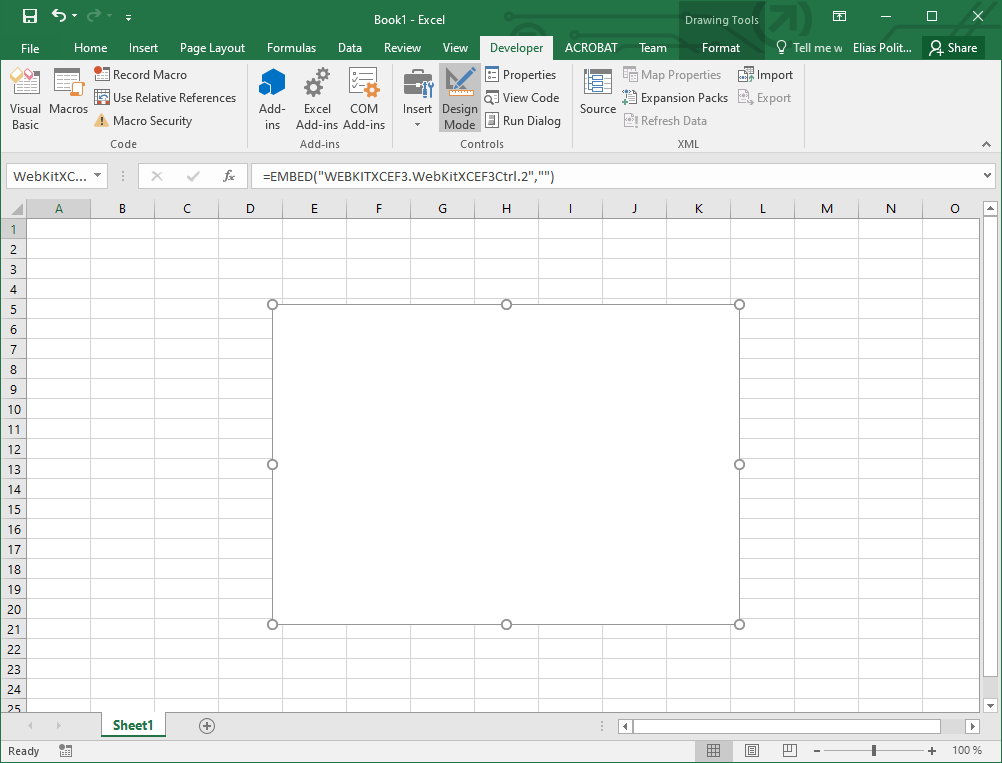
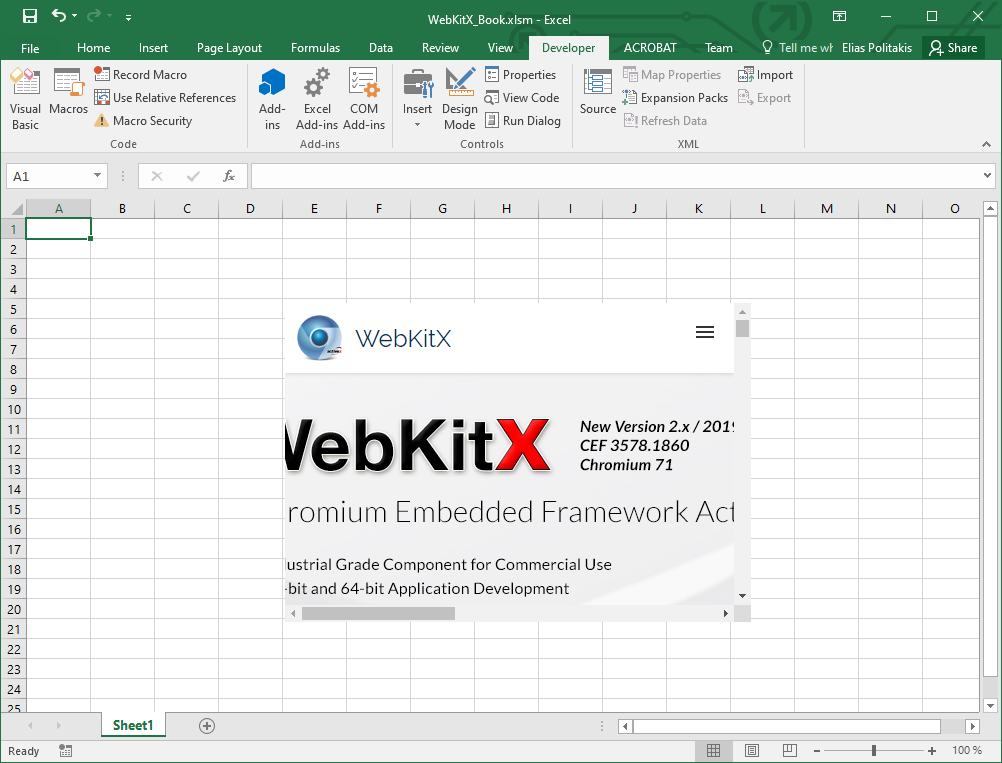
Place WebKitX control in the Sheet.
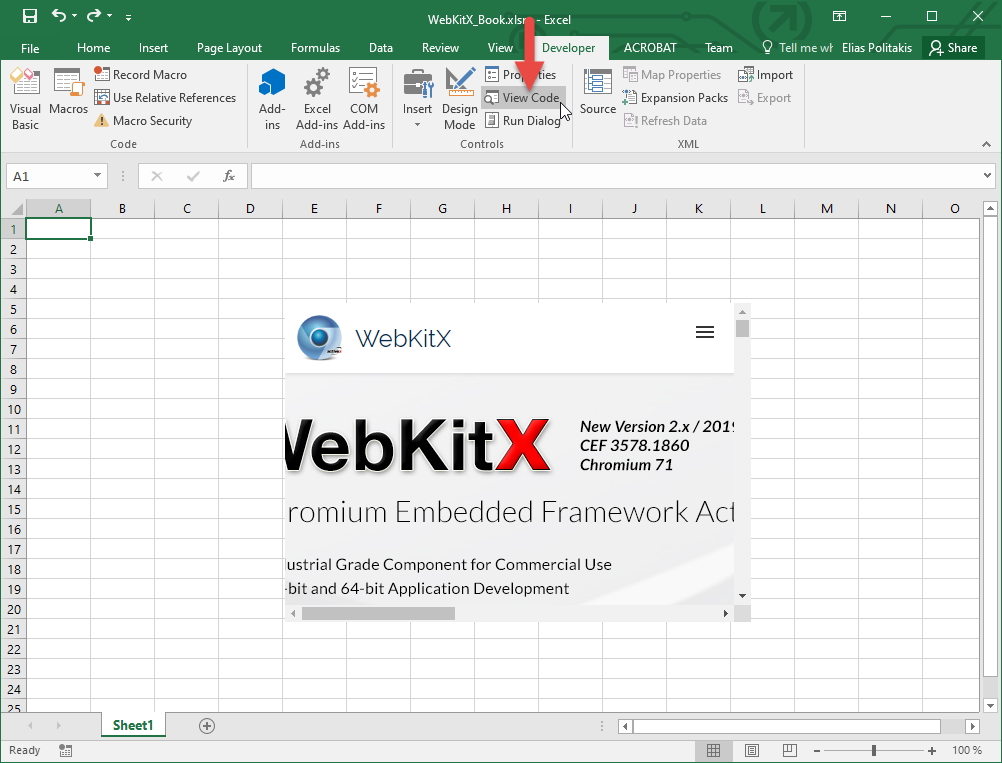
Right-click on WebKitX and select View Code.
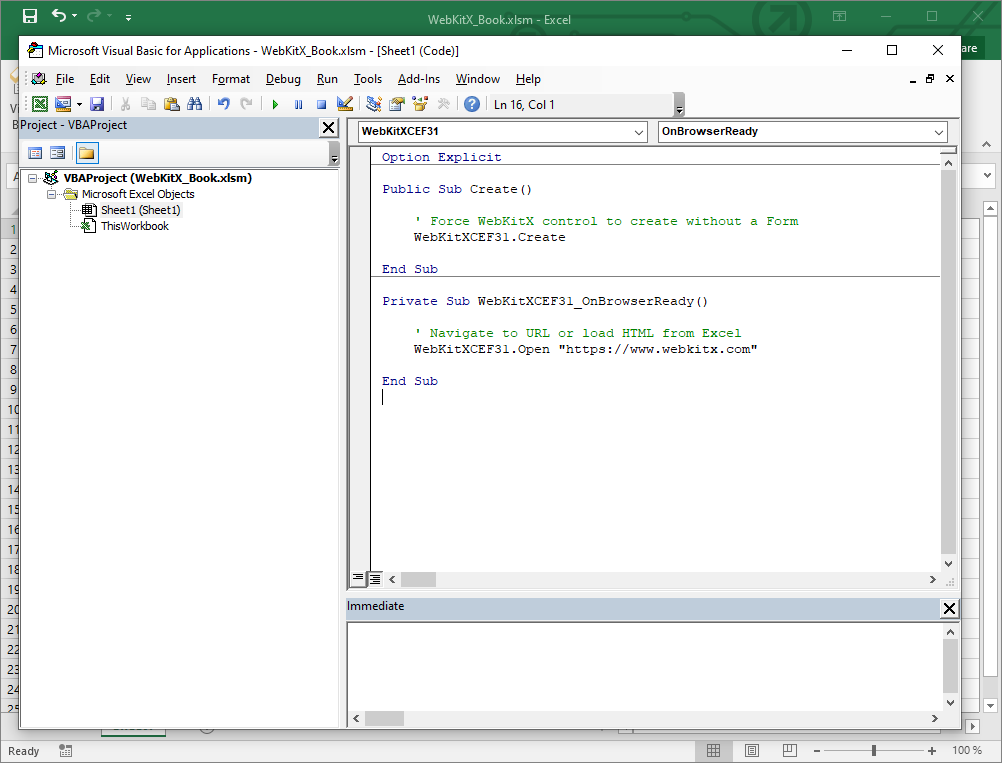
WebKitX control is expecting a Form to create it but when placing it directly on Excel Sheet you need to explicitly create the control. Add a Public Sub Create and inside it force the control to create. Also, create an event handler for OnBrowserReady event.
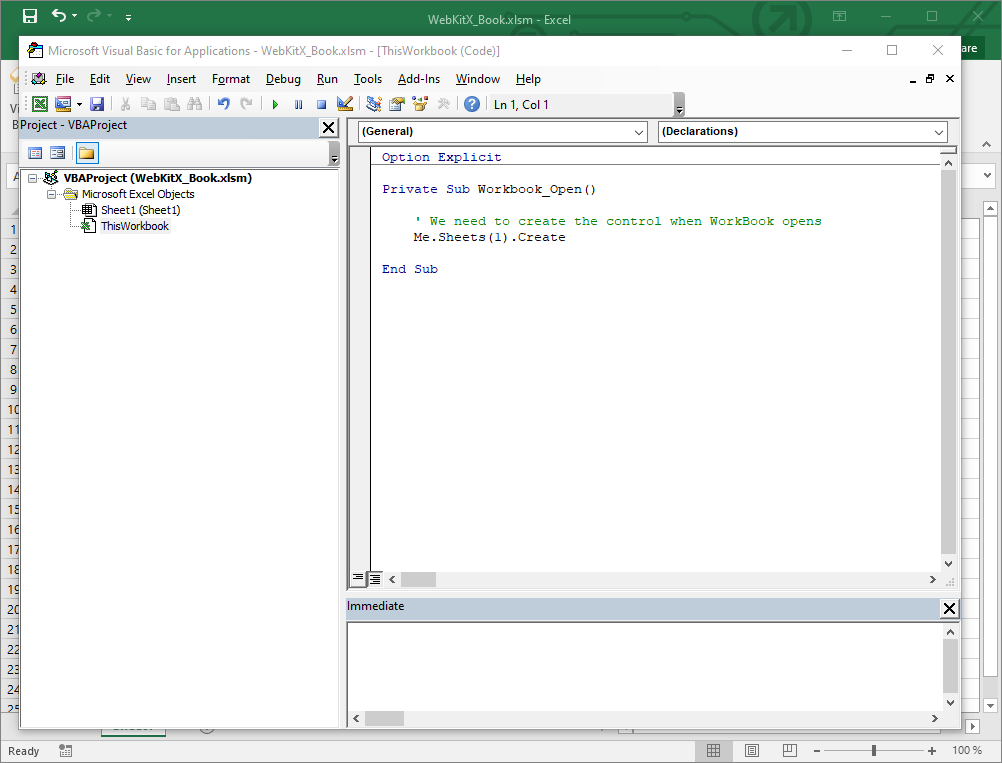
Double-click on ThisWorkbook and add Workbook_Open event handler. Inside this handler you must call the Create method added in the Sheet, as illustrated below. Now every time you open the Workbook will create WebKitX control in Sheet1.
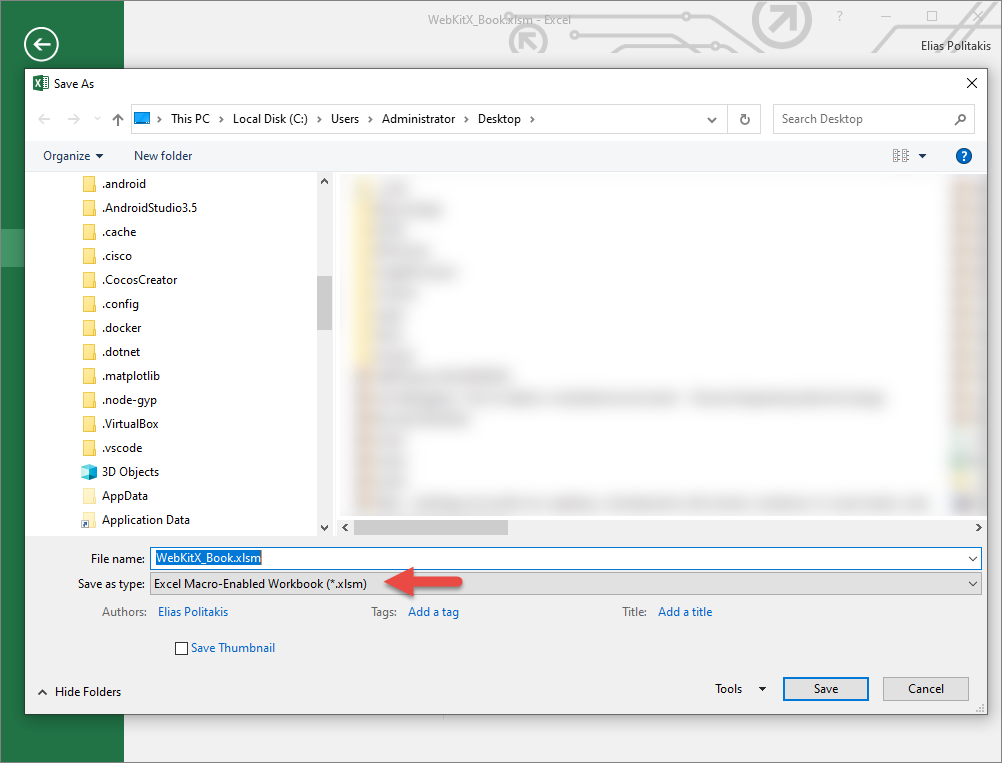
Save your Work Book as Excel Macro-Enabled Workbook. Please note that WebKitX will generate the Cache Folders in the same folder with your Excel file. You can set the cache to be in a Temp folder by setting Settings.cache_path in OnCreate event.
You need to close and re-open your Workbook and WebKitX will run:
To insert values from Excel to HTML it is recommended to use Named Excel Cells and Named HTML Elements, as illustrated below.
Click on View Code button to bring-up VBA IDE.
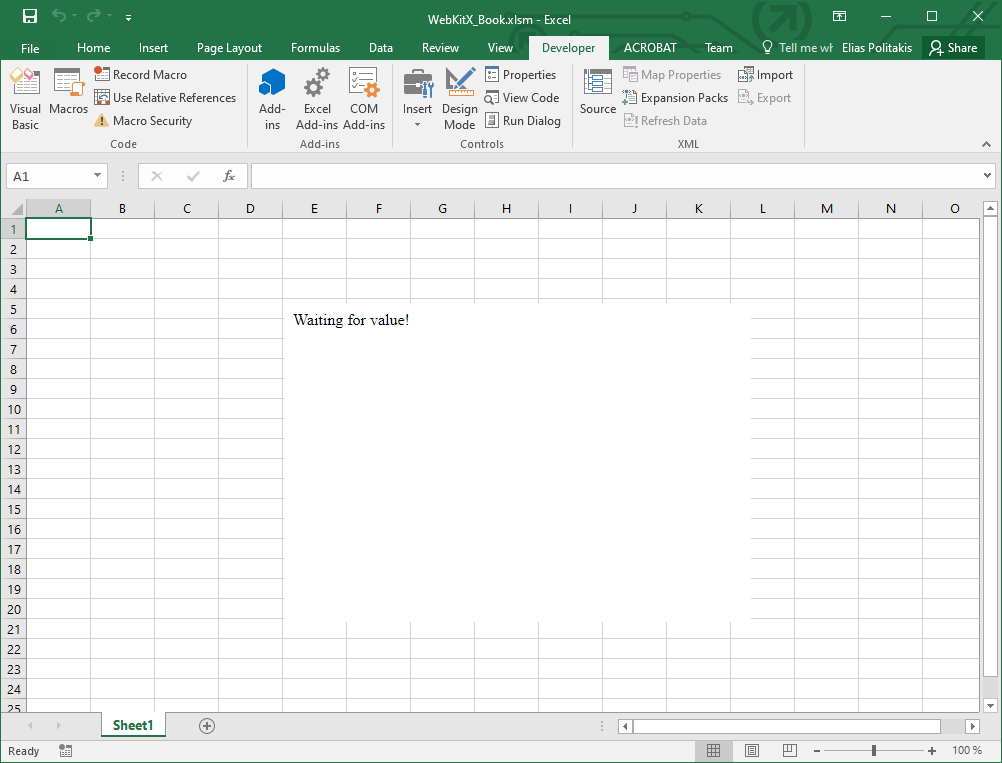
Edit your code in OnBrowserReady provide custom HTML to WebKitX (or load custom HTML from disk). Also, add an event handler for Worksheet_Calculate; in that handler you will add code that reads a value from a named Excel cell and places it in a named HTML element.

Next, you need to close and re-open the Workbook to load the new HTML.
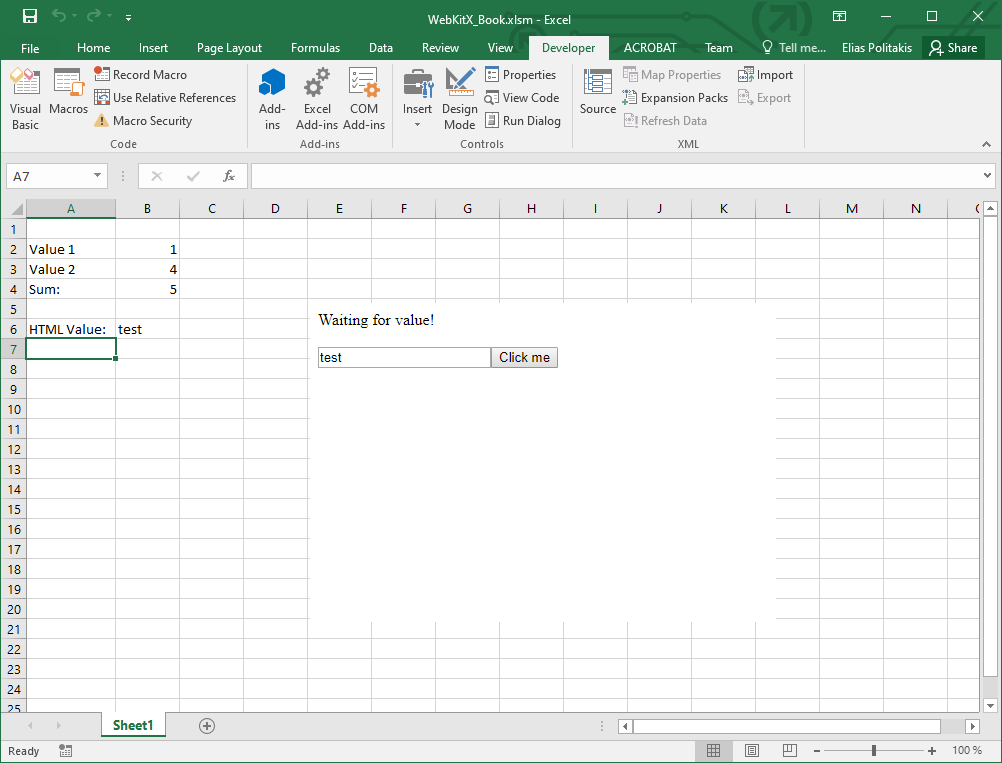
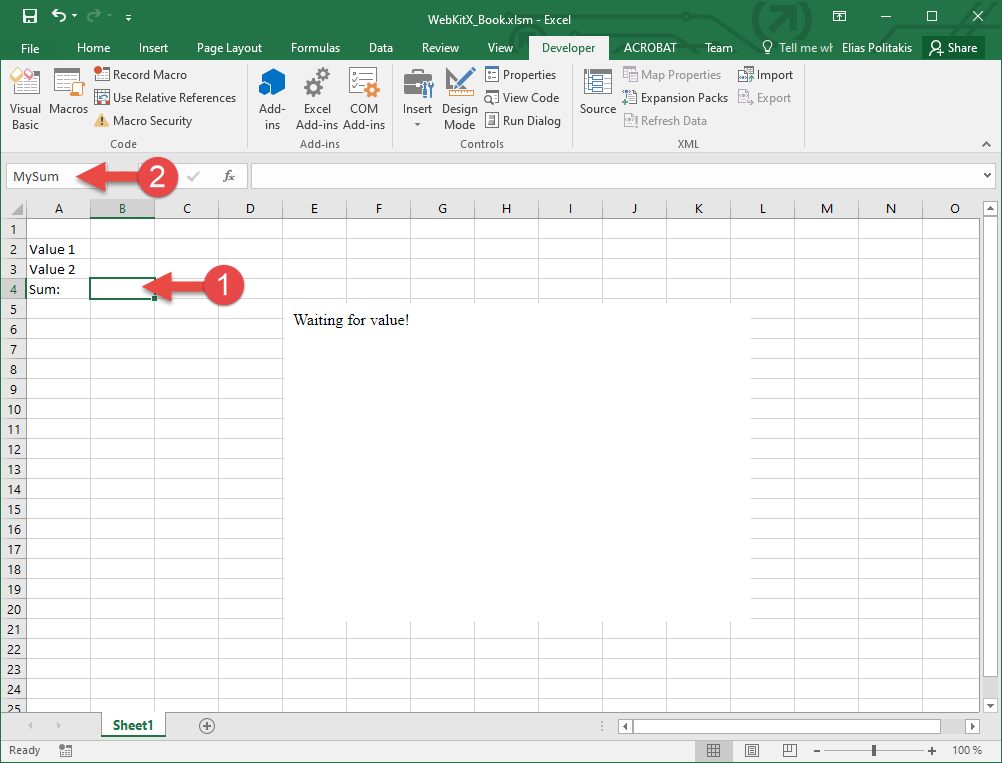
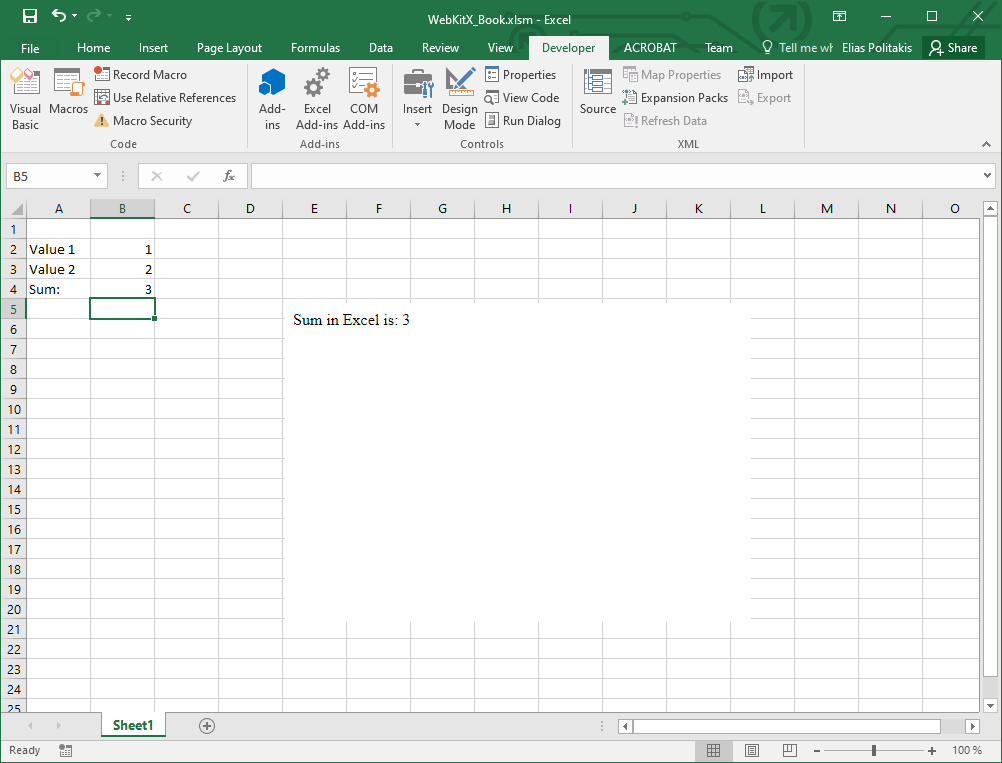
Create a MySum named cell: first select a cell and then name it MySum as illustrated below.
Provide a calculation formula to MySum cell. The formula will trigger Worksheet_Calculate event.
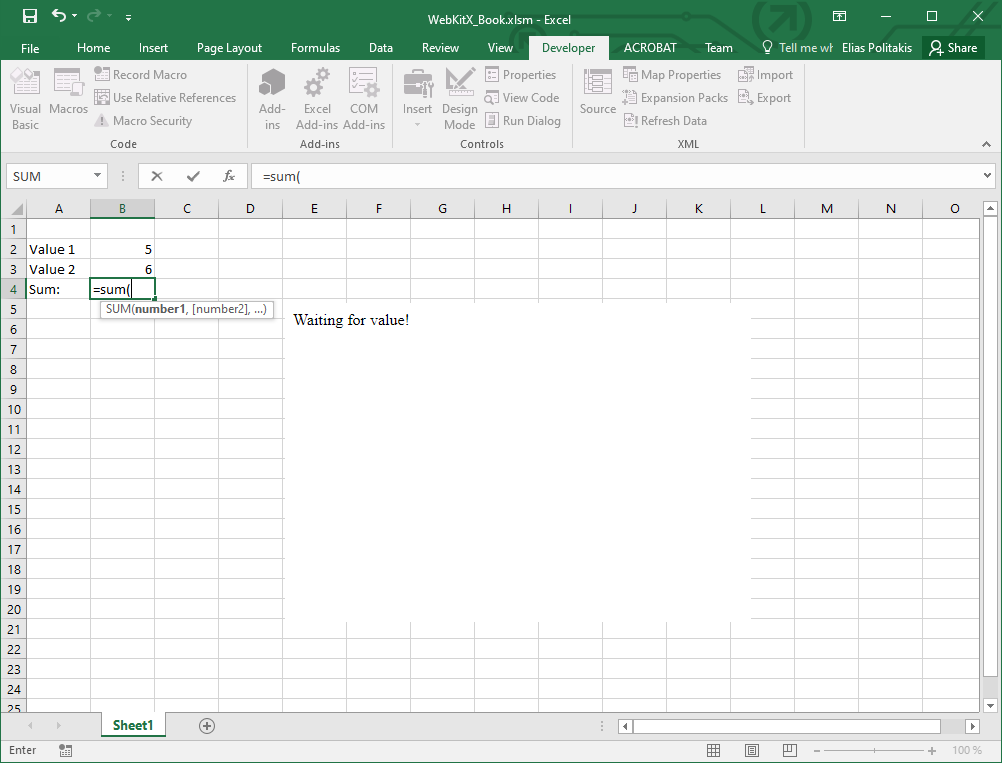
Now, type some values to force the calculation formula to trigger the event and you will see the result in HTML.
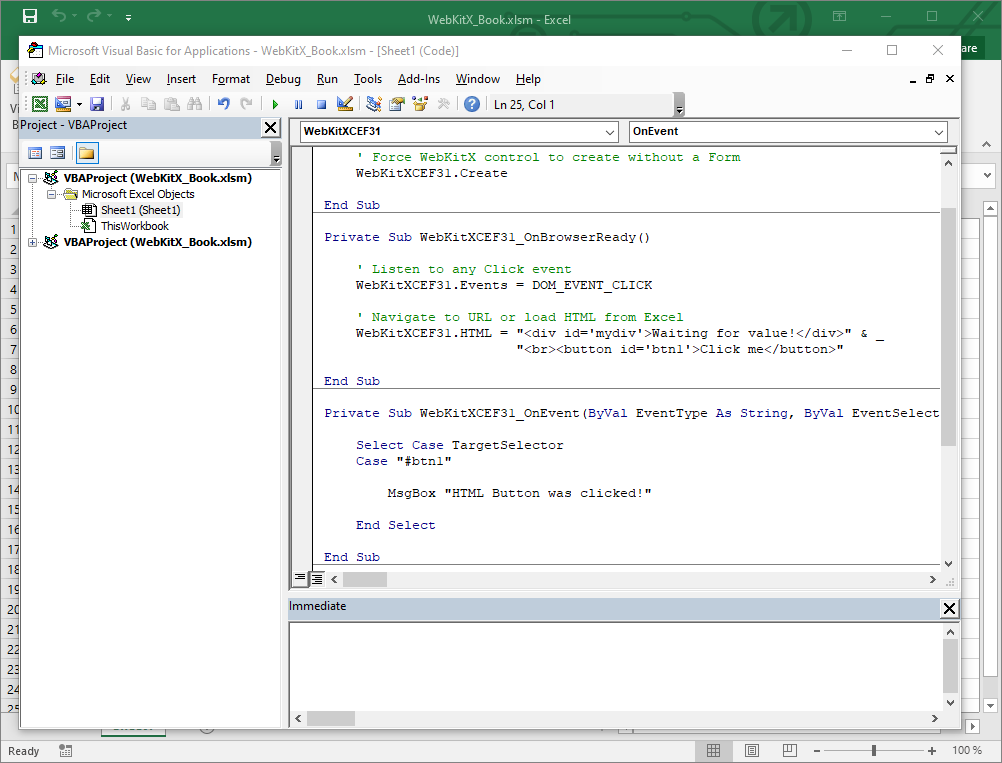
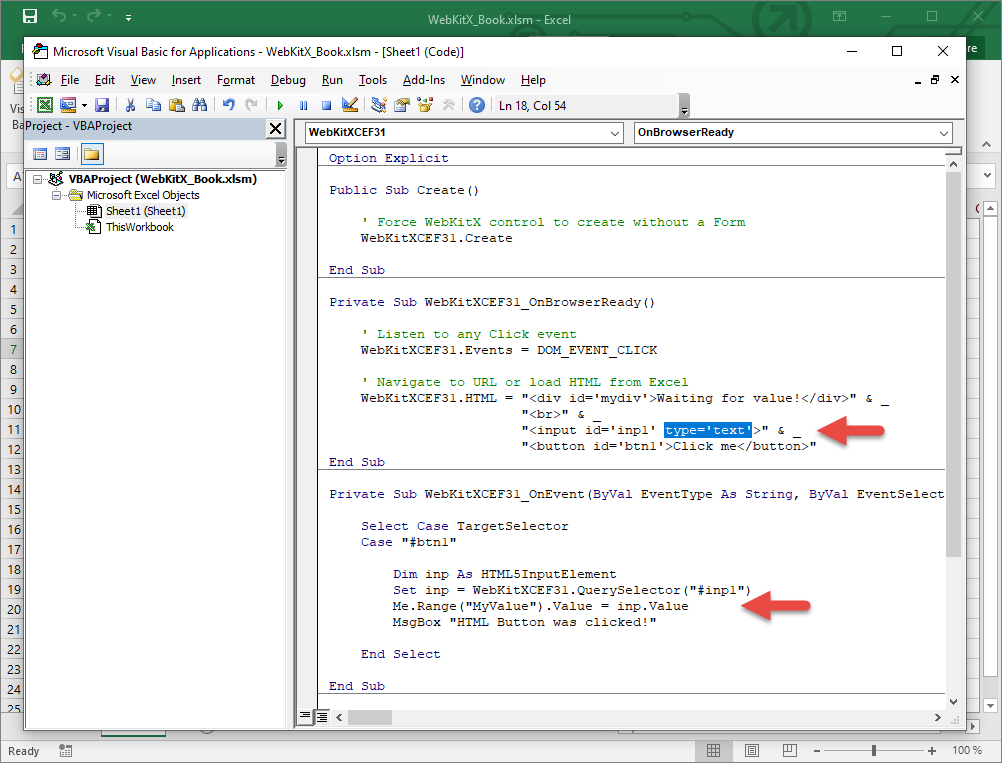
It is recommended to use the generic event handler OnEvent.
In OnBrowserReady event tell WebKitX to listen to all Click events with WebKitXCEF31.Events = DOM_EVENT_CLICK. Also add WebKitXCEF31_OnEvent event handler. We recommend using a Select Case statement to identify the proper element that was clicked by its TagSelector. If you provide in your HTML a button with id btn1 then you can filter-out clicks for btn1 with the following code:
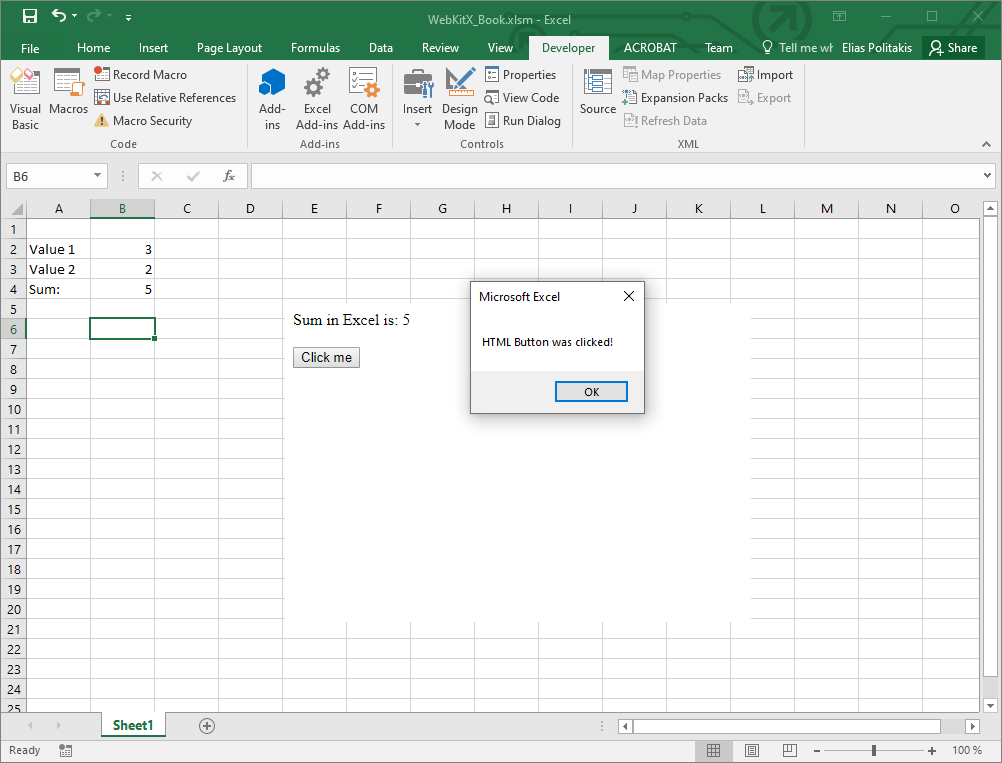
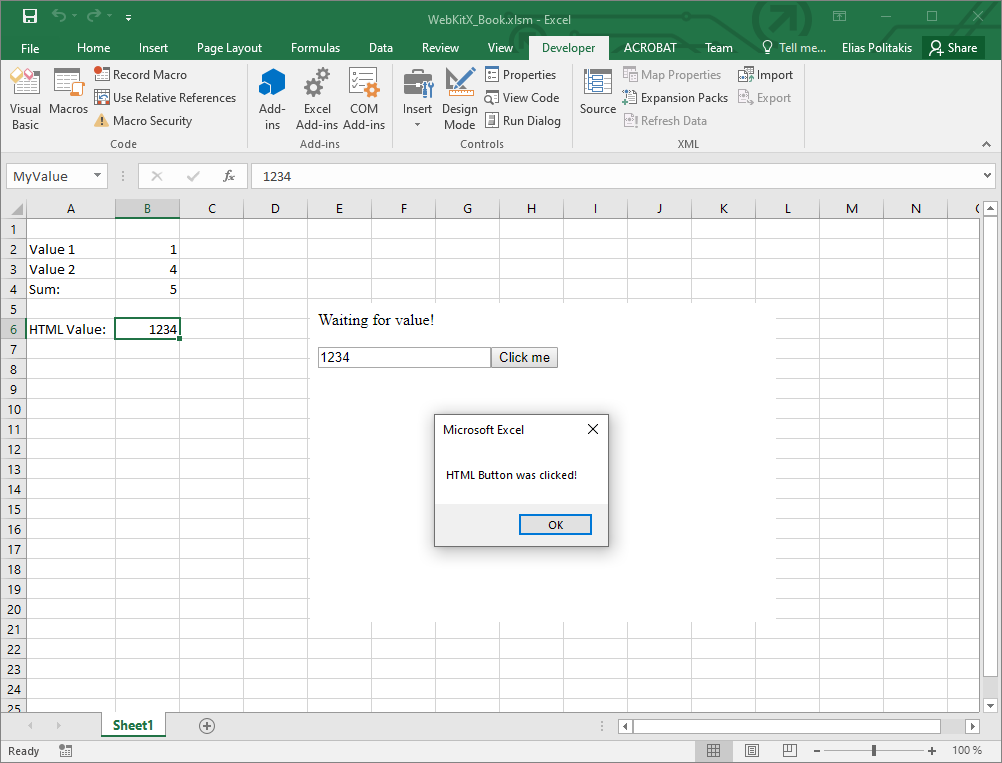
Save, close and re-open the Workbook and click on the Button and you will receive the JavaScript event in Excel.
Edit your code in OnBrowserReady and add an INPUT element of type number. In OnEvent use an HTML5InputElement variable and WebKitXCEF31.QuerySelector to read the value from the HTML element and copy it to a named cell in Excel.

In your worksheet, add a named cell such as MyValue.
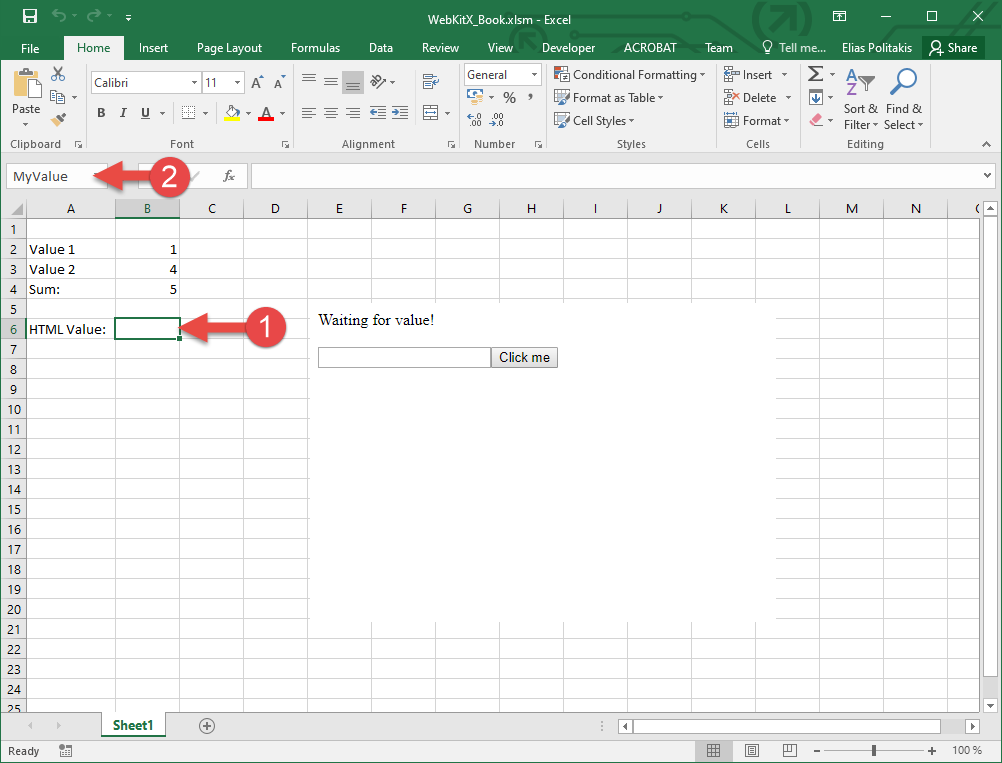
Type a number in WebKitX INPUT element and click the Click me button to copy the number from HTML to Excel.
Since April 2020, IHTMLInputElement objects support VARIANT value read and write that can work with input elements of type text:
This way you can read / write strings as well.