The following guide demonstrates how to create a PowerBuilder 2019 project and add WebKitX control in a Form.
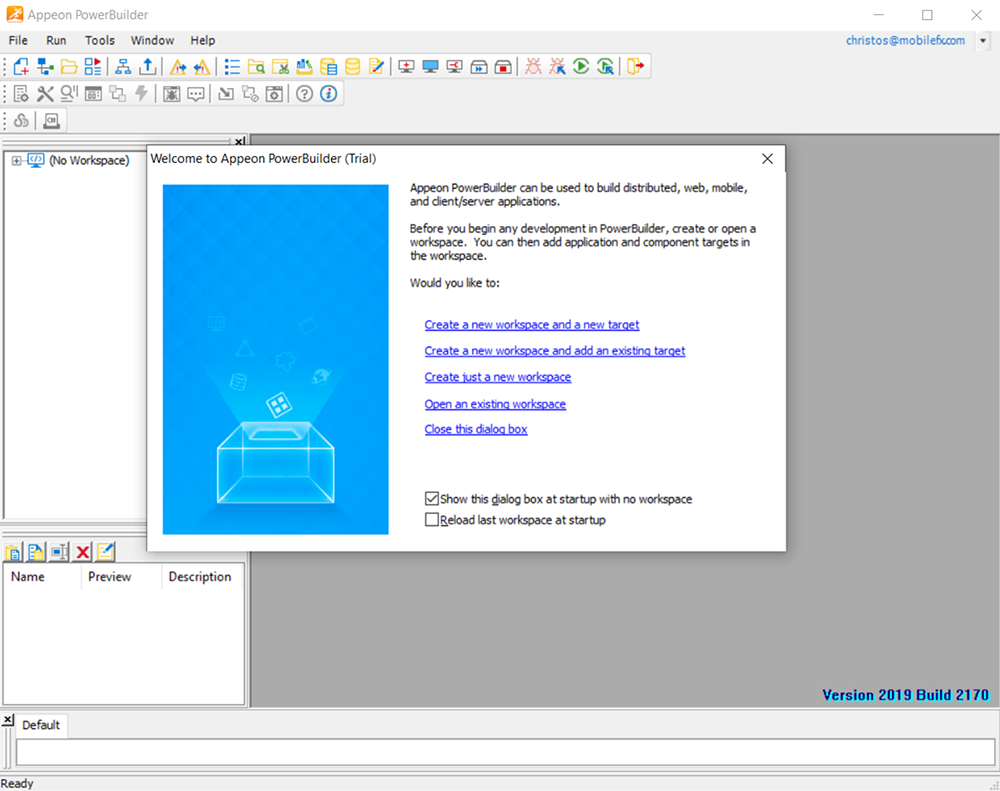
Open PowerBuilder and create a new workspace and a new target.
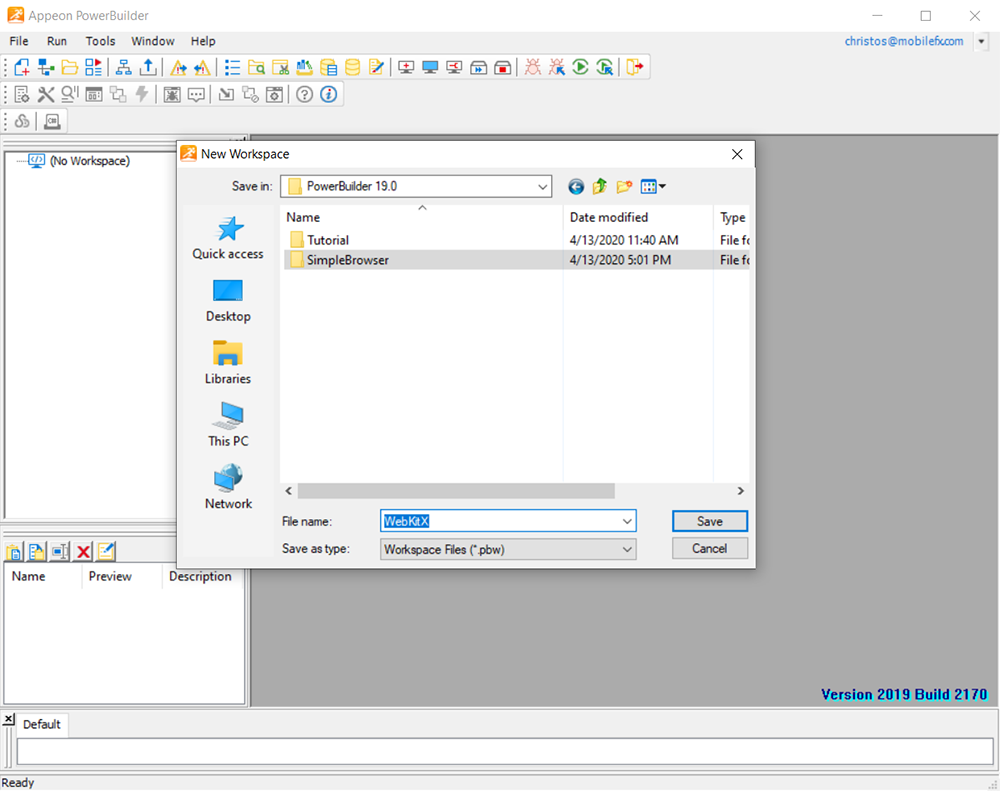
Create a new folder, e.g. SimpleBrowser, and then enter a name for your workspace, e.g. WebKitX.
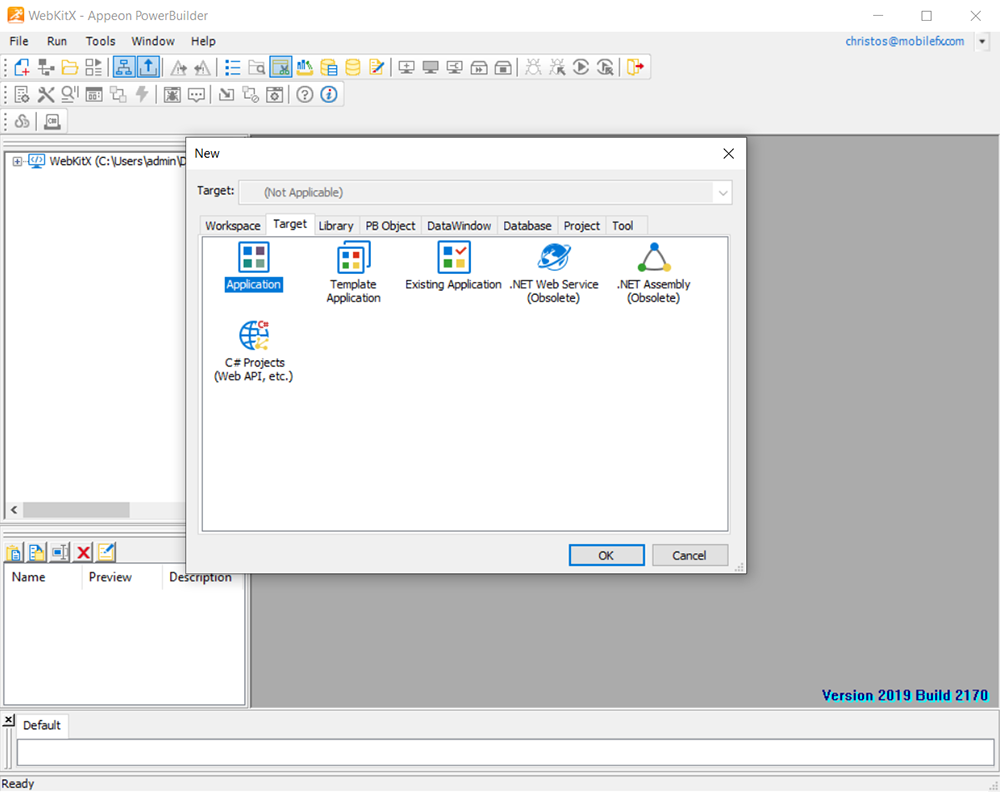
Create a new target by selecting the Target tab and clicking on Application. After that, click OK.
Enter an Application Name. By convention, that starts with an 'a', e.g. a_simple_browser.
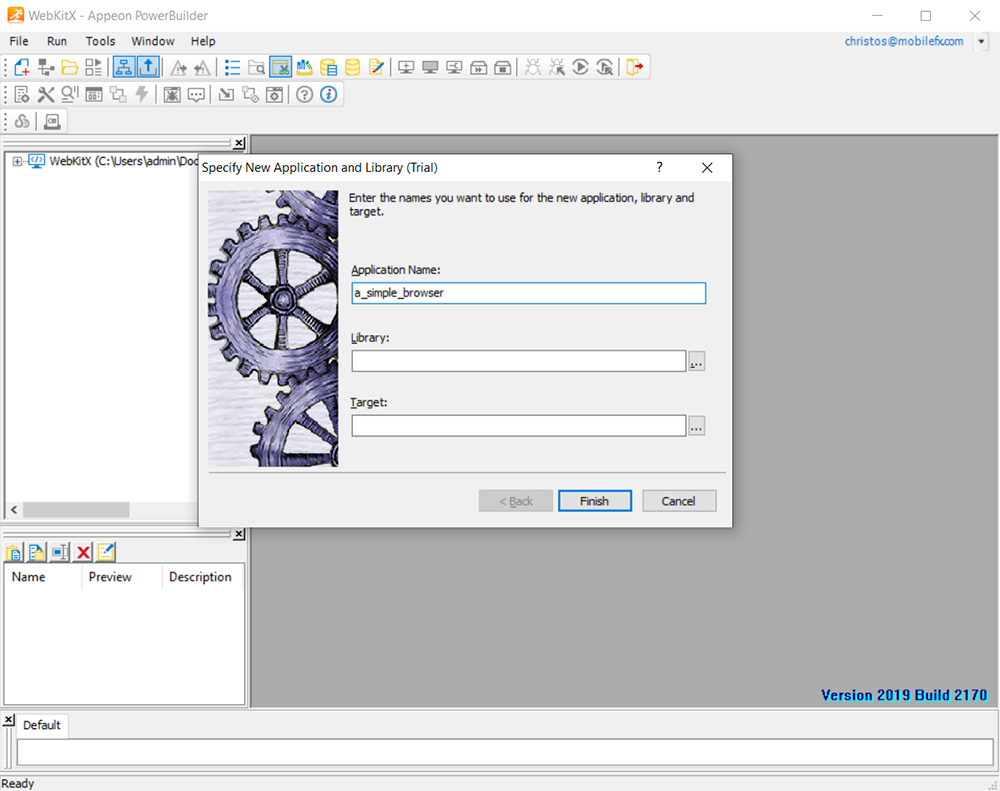
When you are done, click in either the Library or Target field and these will be filled automatically with the paths to the .pbl and .pbt files respectively. If you like, you can change the names of these files, e.g. simple_browser. Last, click on Finish.

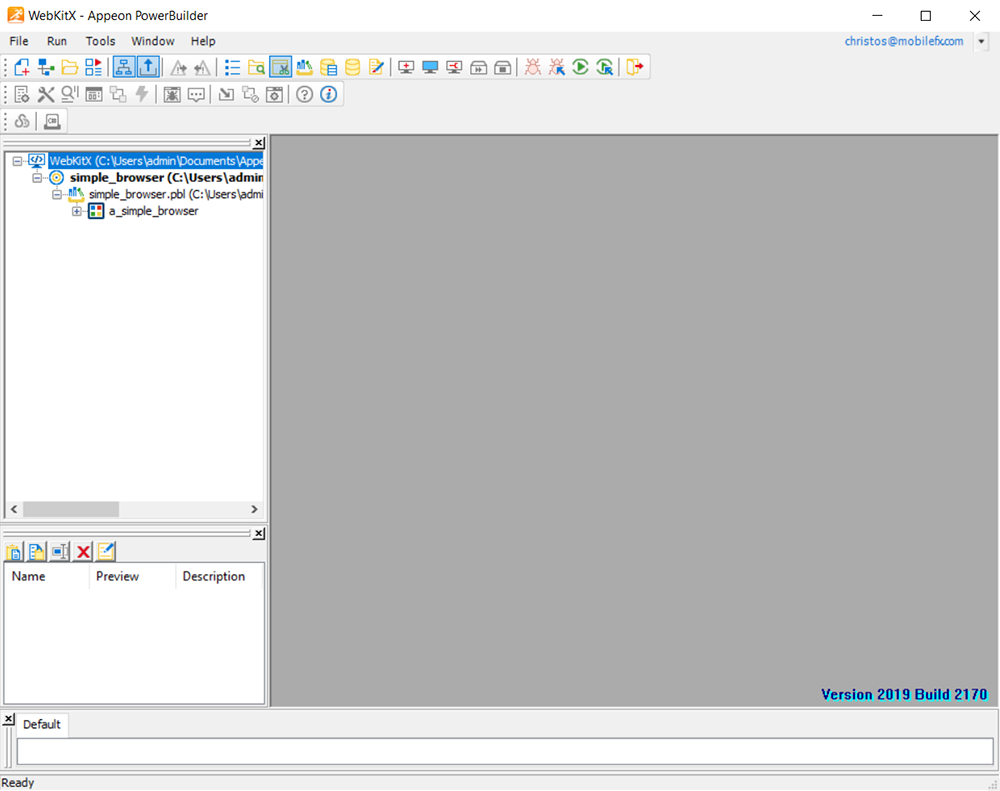
Now, on the left side of your IDE you can see your workspace (WebKitX), your Target (simple_browser), your Library (simple_browser) and finally, your Application Object (a_simple_browser).
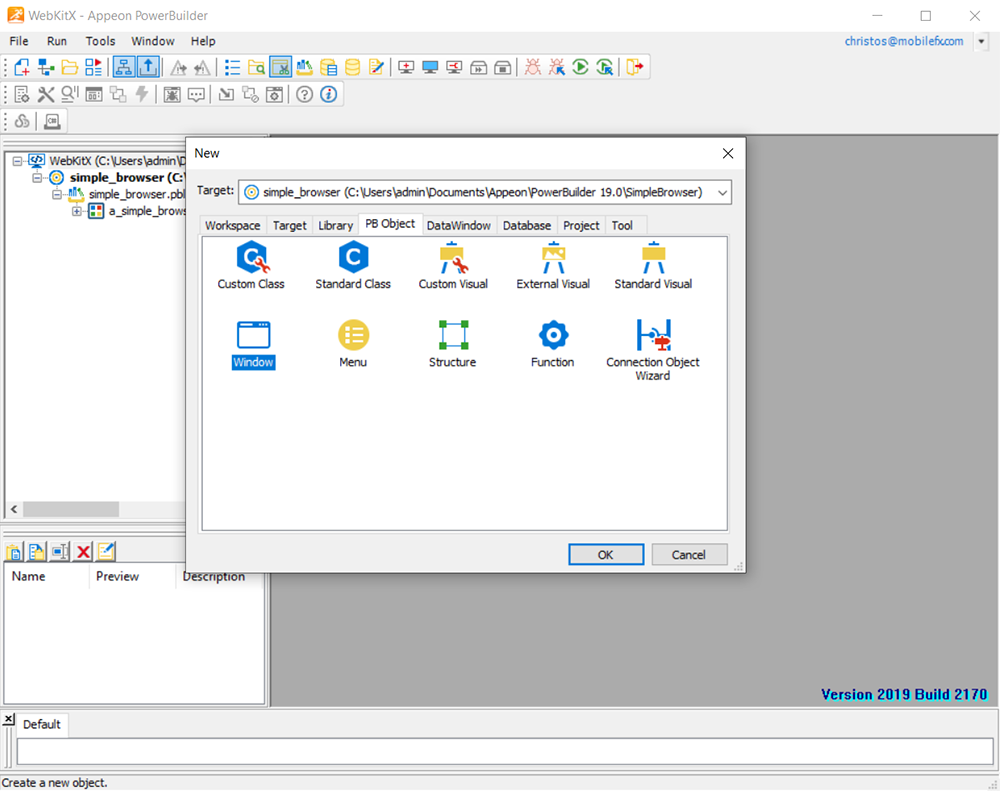
Time to add a new Window. Go to PowerBuilder's PowerBar and select New -> PB Object -> Window and click OK.
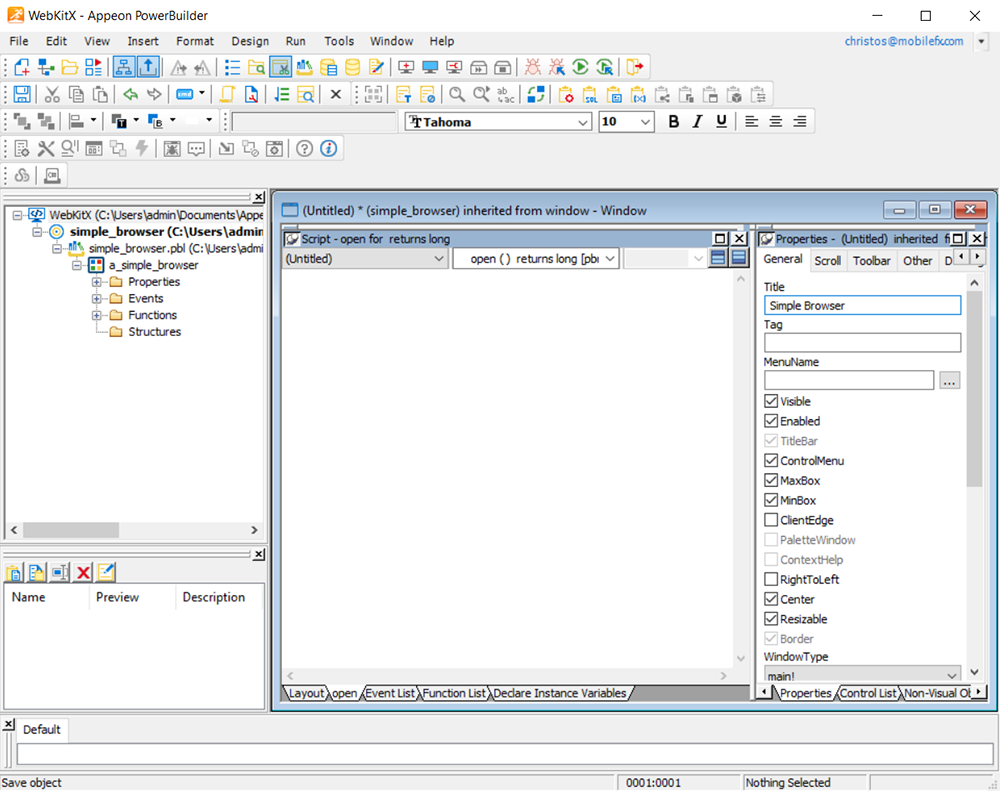
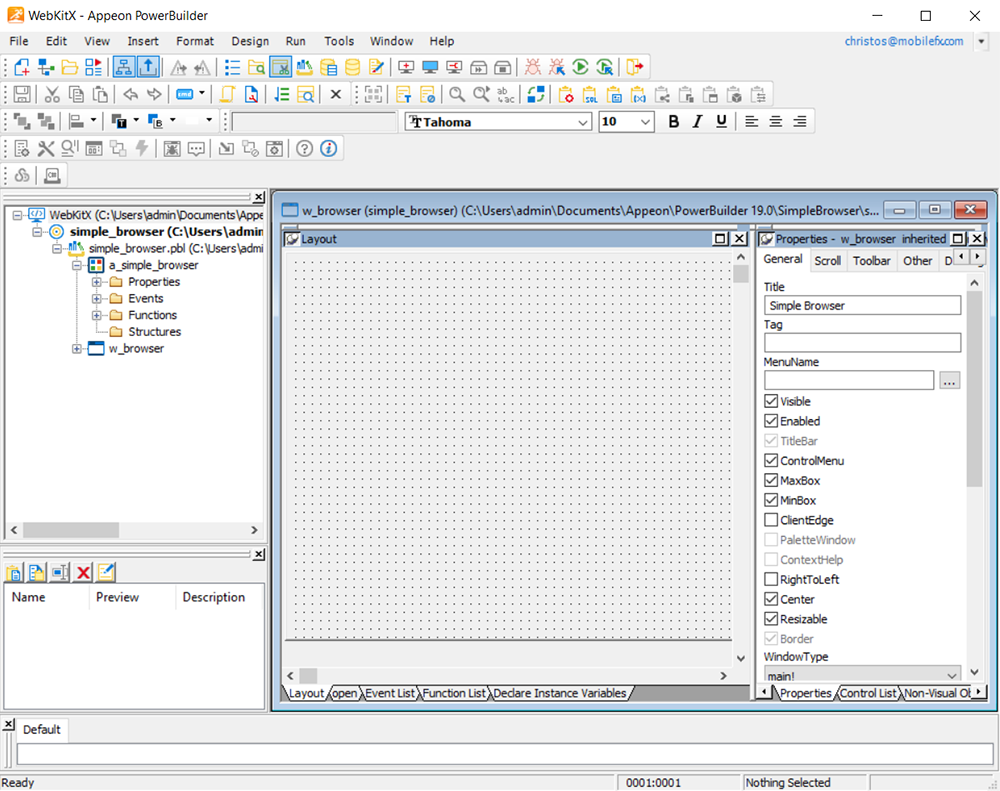
You will see that a new Window has been added to the project. By default, the PowerScript Painter has opened in the default open event. Go to the Window's Properties and enter a Title for it, e.g. Simple Browser.
Then go to PowerBuilder's PainterBar and select Save. In the Save Window dialog that opens enter a name under Windows:, e.g. w_browser and click OK.

You will notice that w_window has been added to your project's structure. Select the Layout tab in order to enter the Window Painter.
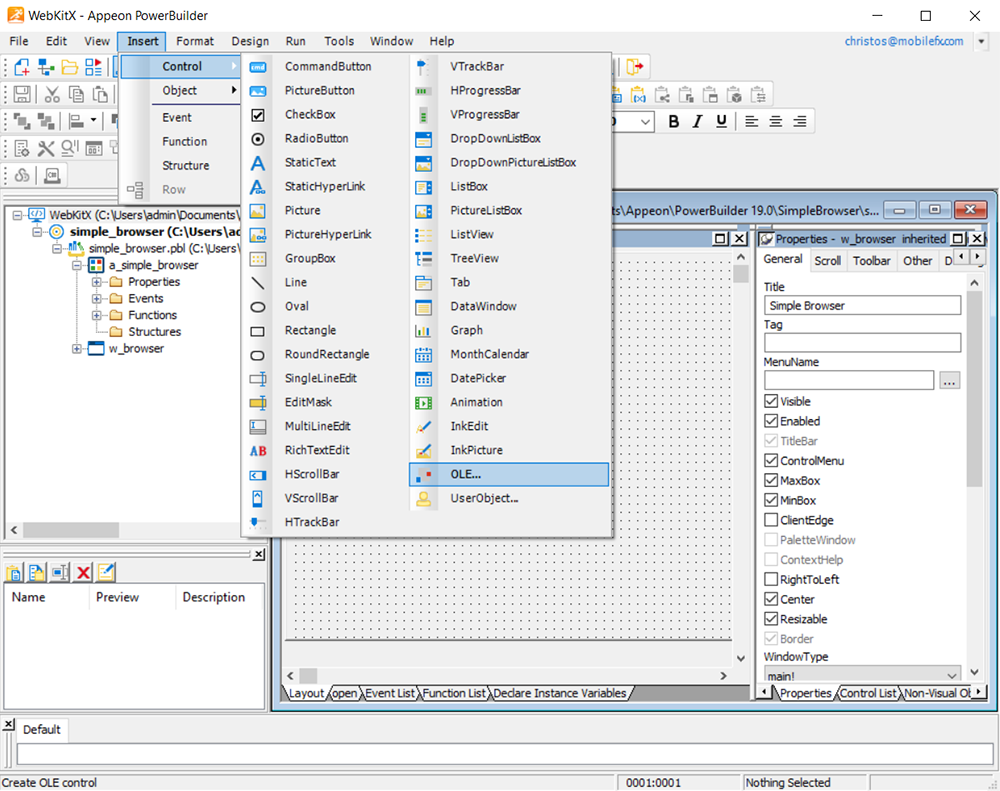
Now, it's time to insert the WebKitXCEF3 Control into our project. Go to PowerBuilder's MenuBar and select Insert -> Control -> OLE...
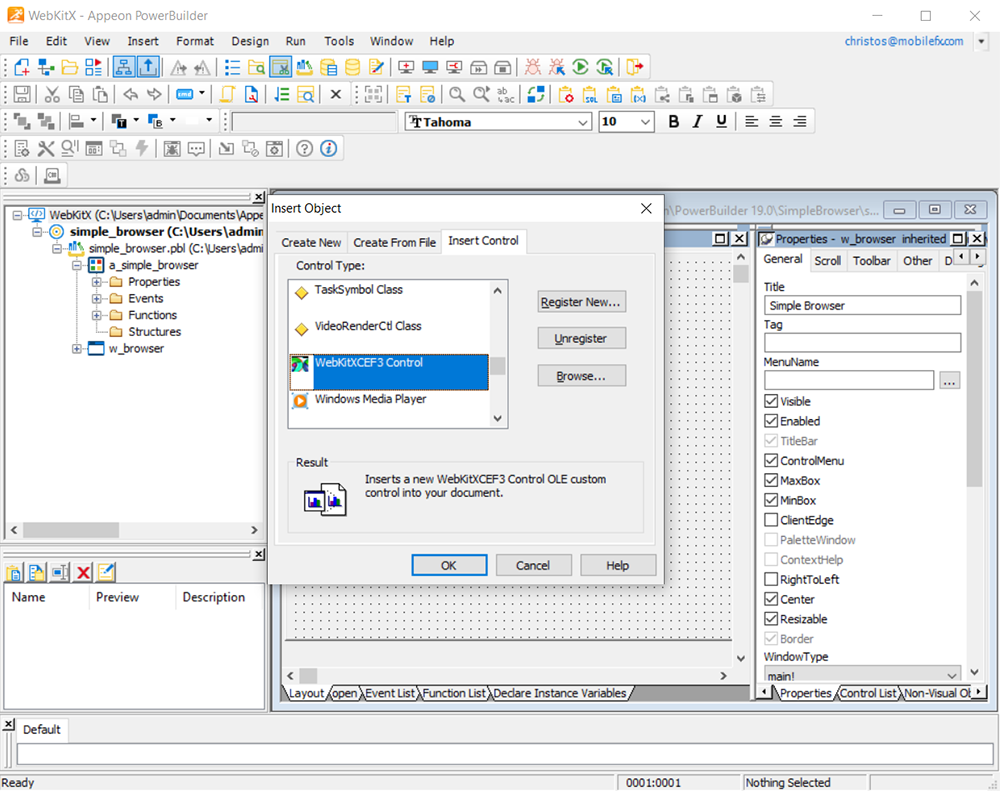
In the Insert Object dialog that appears, select Insert Control and scroll until you find the WebKitXCEF3 Control. When you do, click OK.
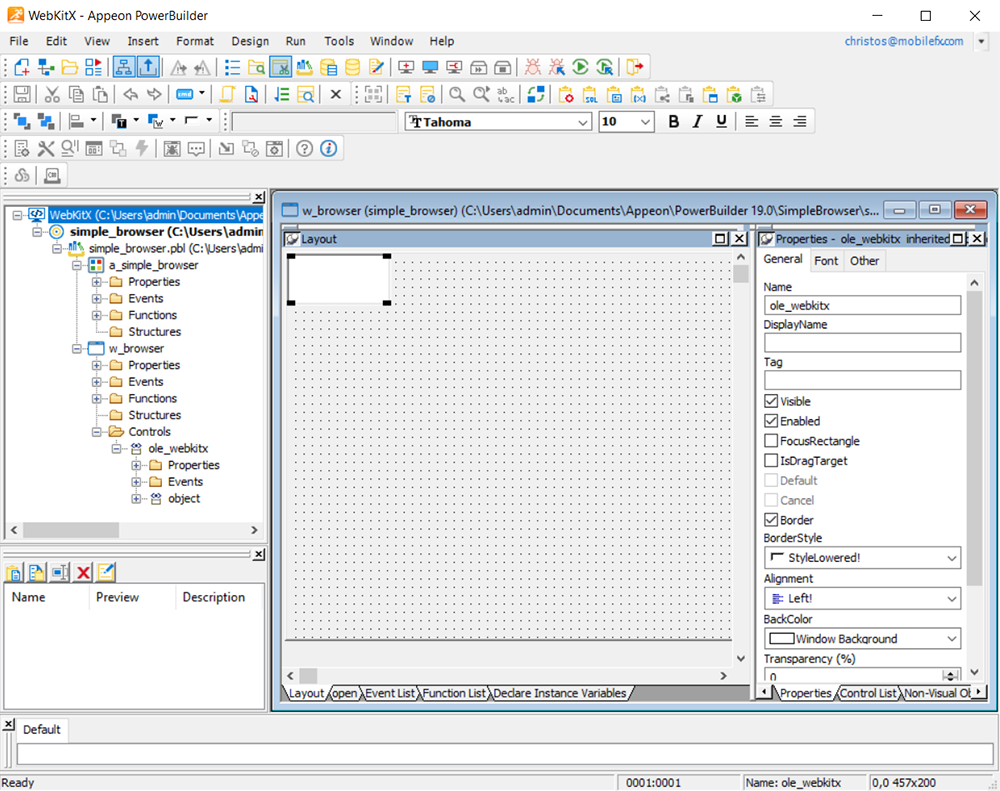
After the dialog closes, click anywhere inside the Window Painter in order to add the WebKitXCEF3 Control.
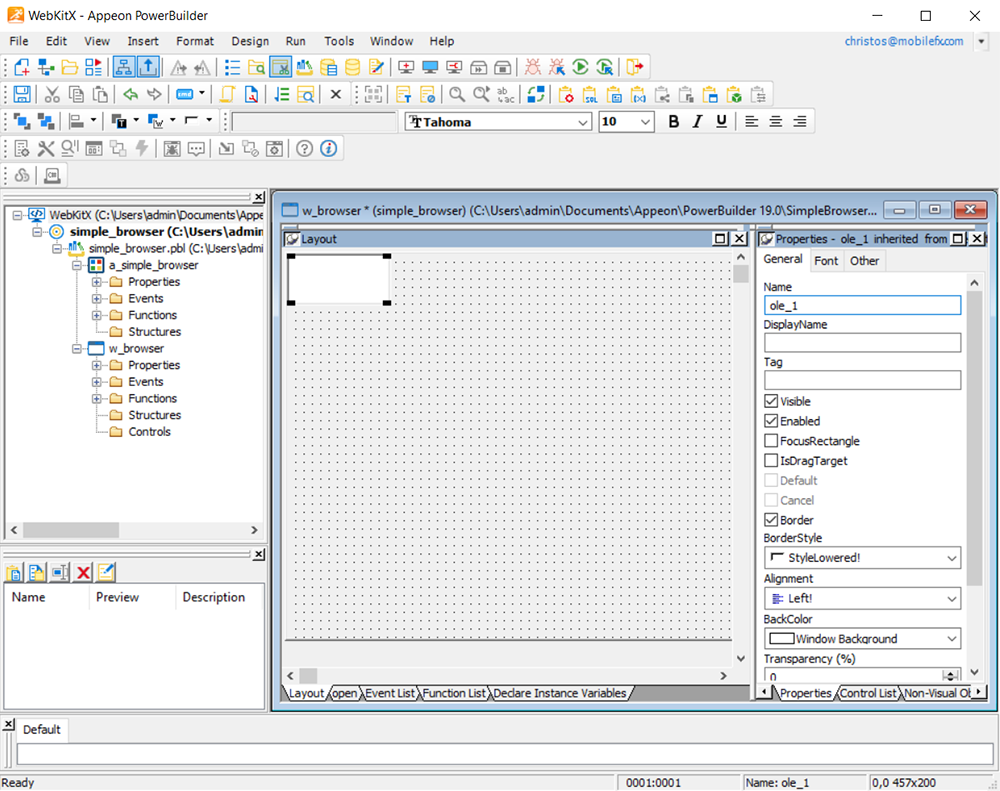
Go to WebKitXCEF3 Control's Properties and enter a name for it, e.g. ole_webkitx. When you are done, go to PowerBuilder's PainterBar and select Save. You will notice that ole_webkitx has been added to your project's structure.
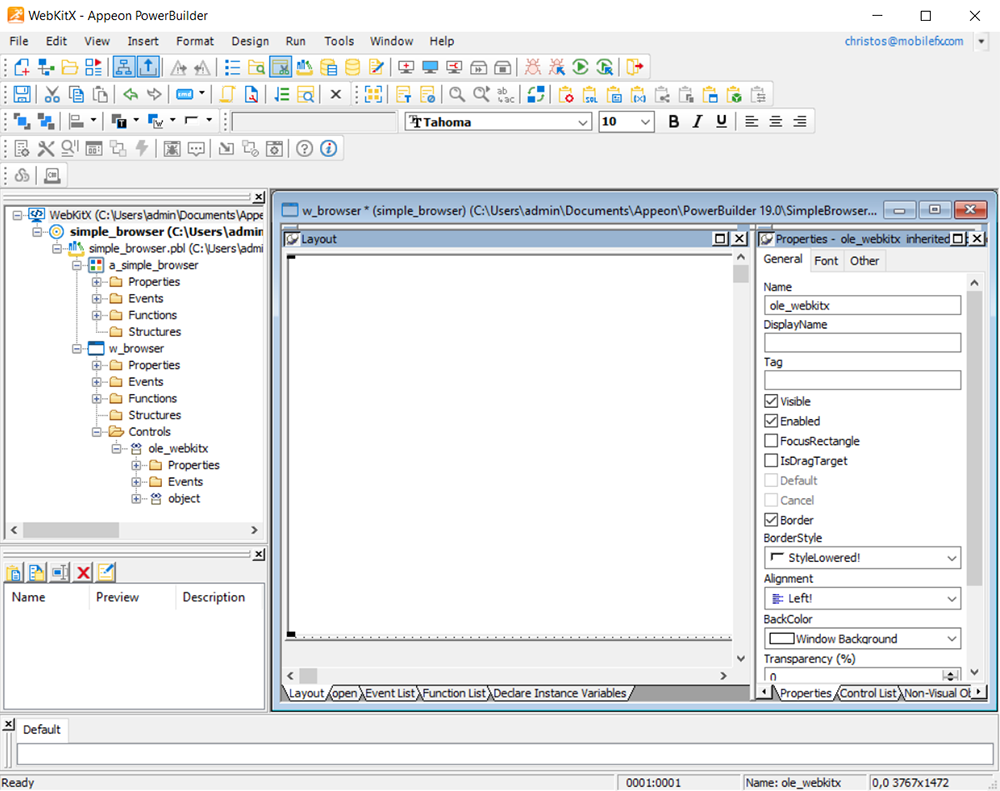
Drag the edges of WebKitXCEF3 Control until it has filled the grid.
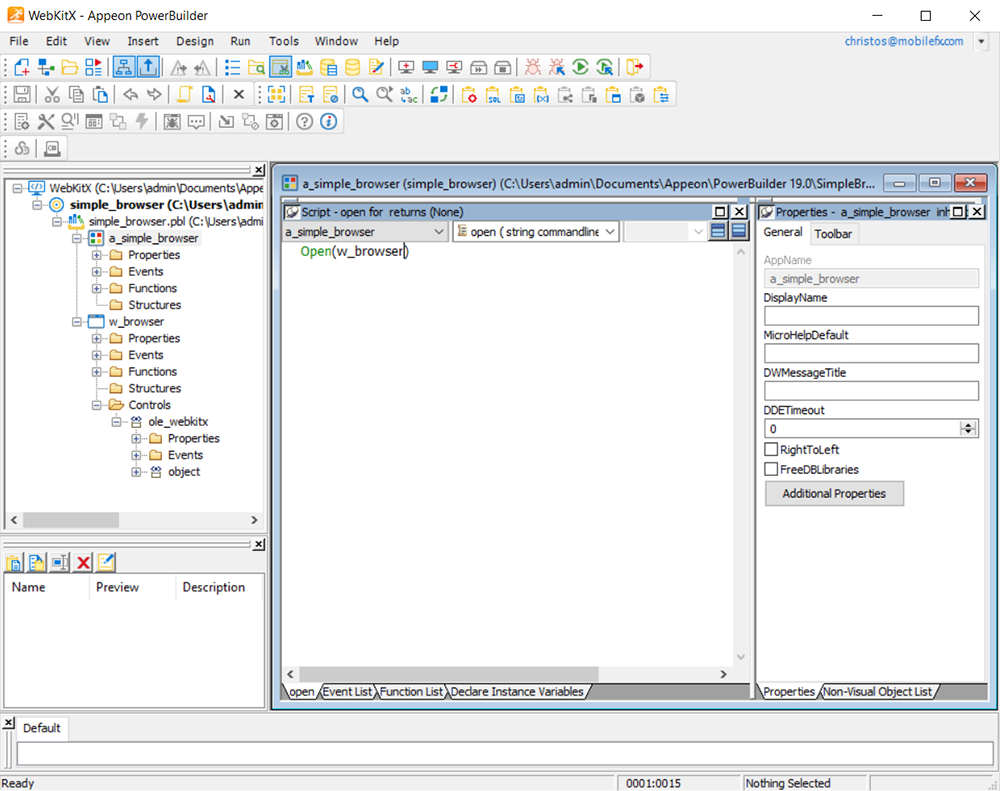
Time to write some code! Double click on a_simple_browser Application Object. The PowerScript Painter will open in the open event. Enter a call to the Open function in order to open w_browser when the application launches.
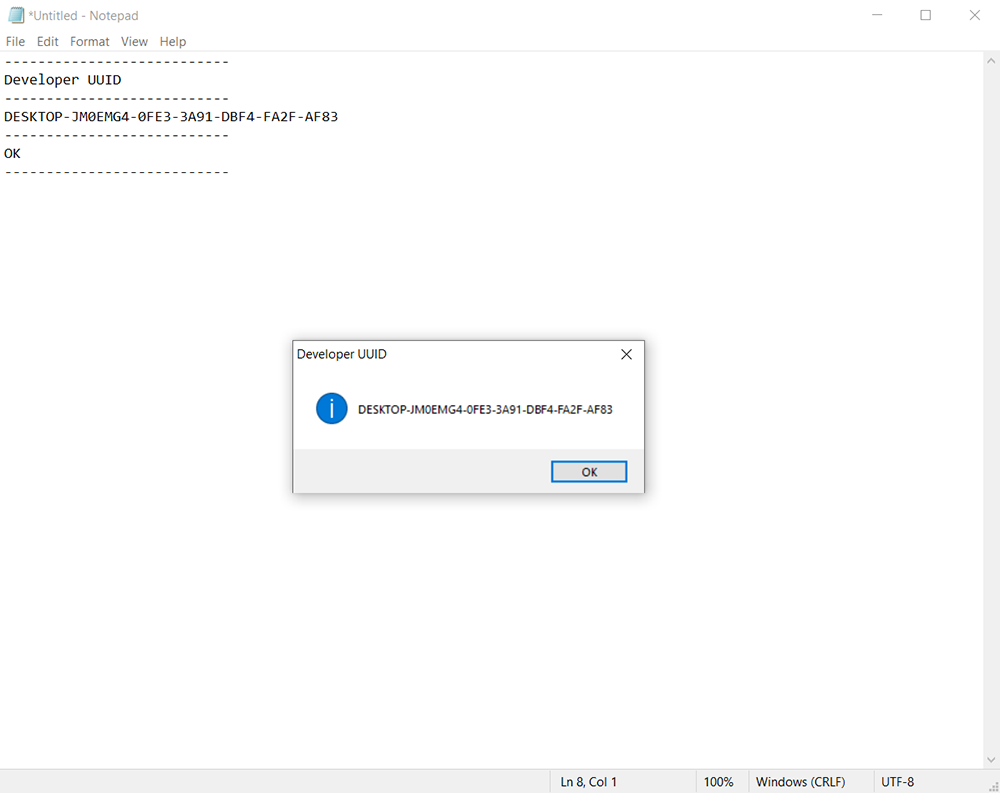
Double click on w_browser. Again, the PowerScript Painter will open in the open event. Enter a call to MessageBox in order to display your Developer UUID, along with your activation information as illustrated below.
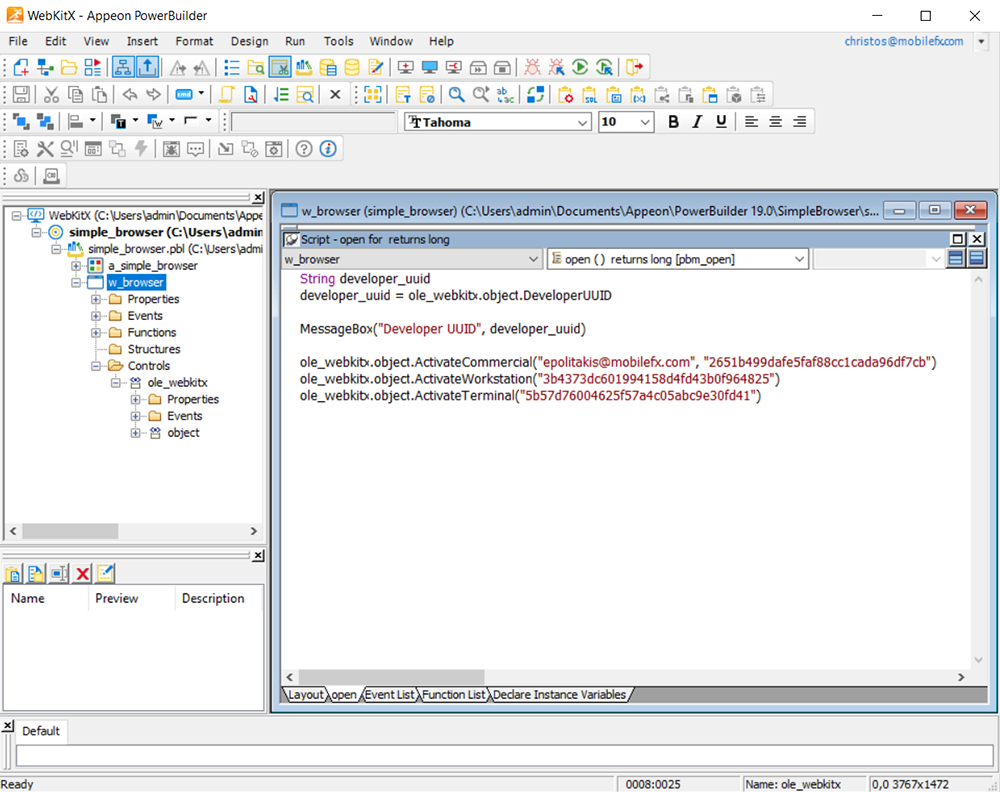
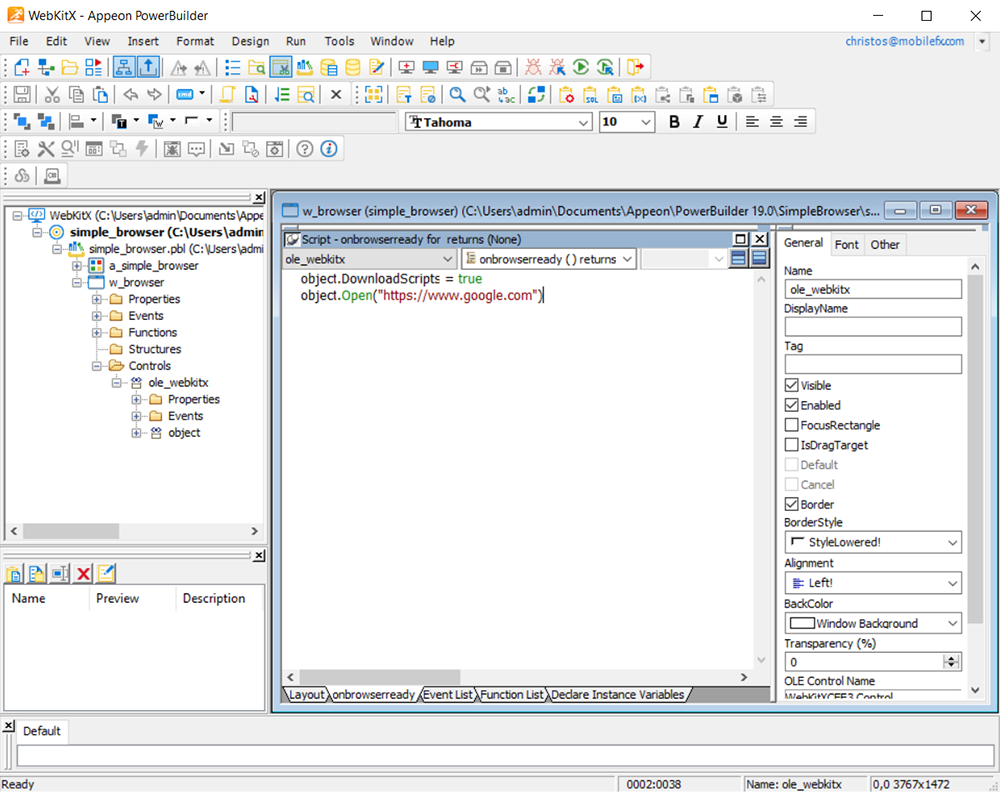
From the drop-down menu inside PowerScript Painter select ole_webkitx and from the drop-down menu next to it search for the onbrowserready event. When you are done, activate Scripts and open the URL you wish to browse.
Go to PowerBuilder's PowerBar and select Run. when the Developer UUID message box appears press CTRL+C and paste the text in a Notepad. Copy the Developer UUID and send it to and send it to info@mobilefx.com.
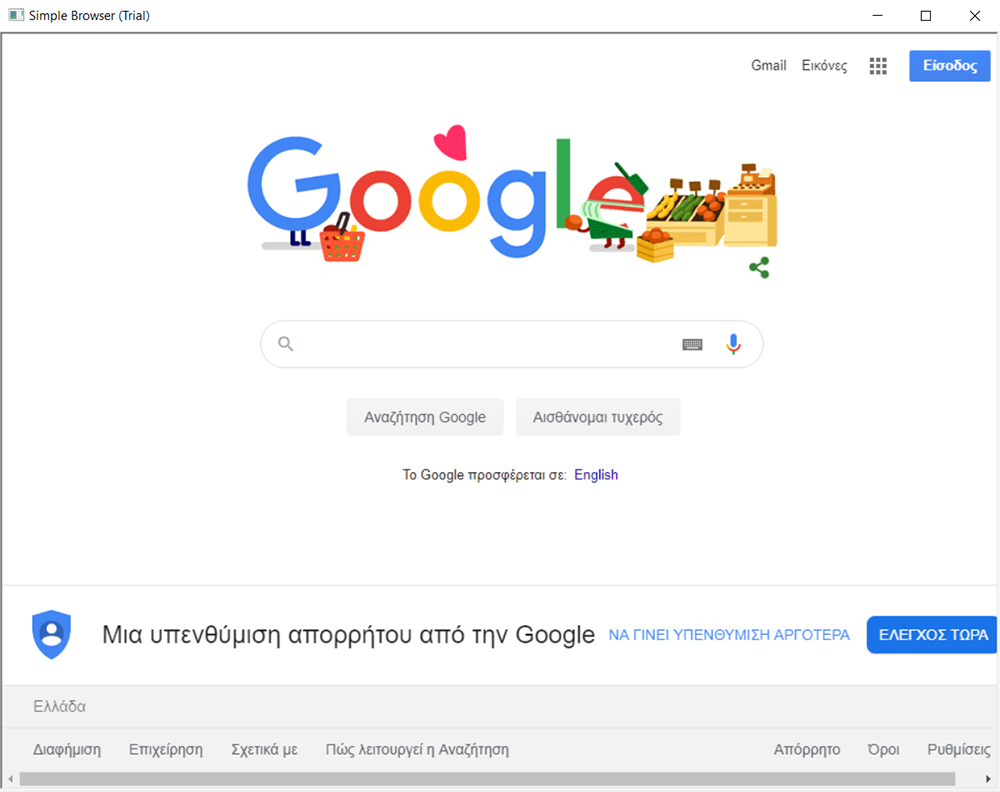
Click OK and you should see Google's landing page!